This post may contain affiliate links. If you make a purchase through these links, we may earn a commission at no additional cost to you.
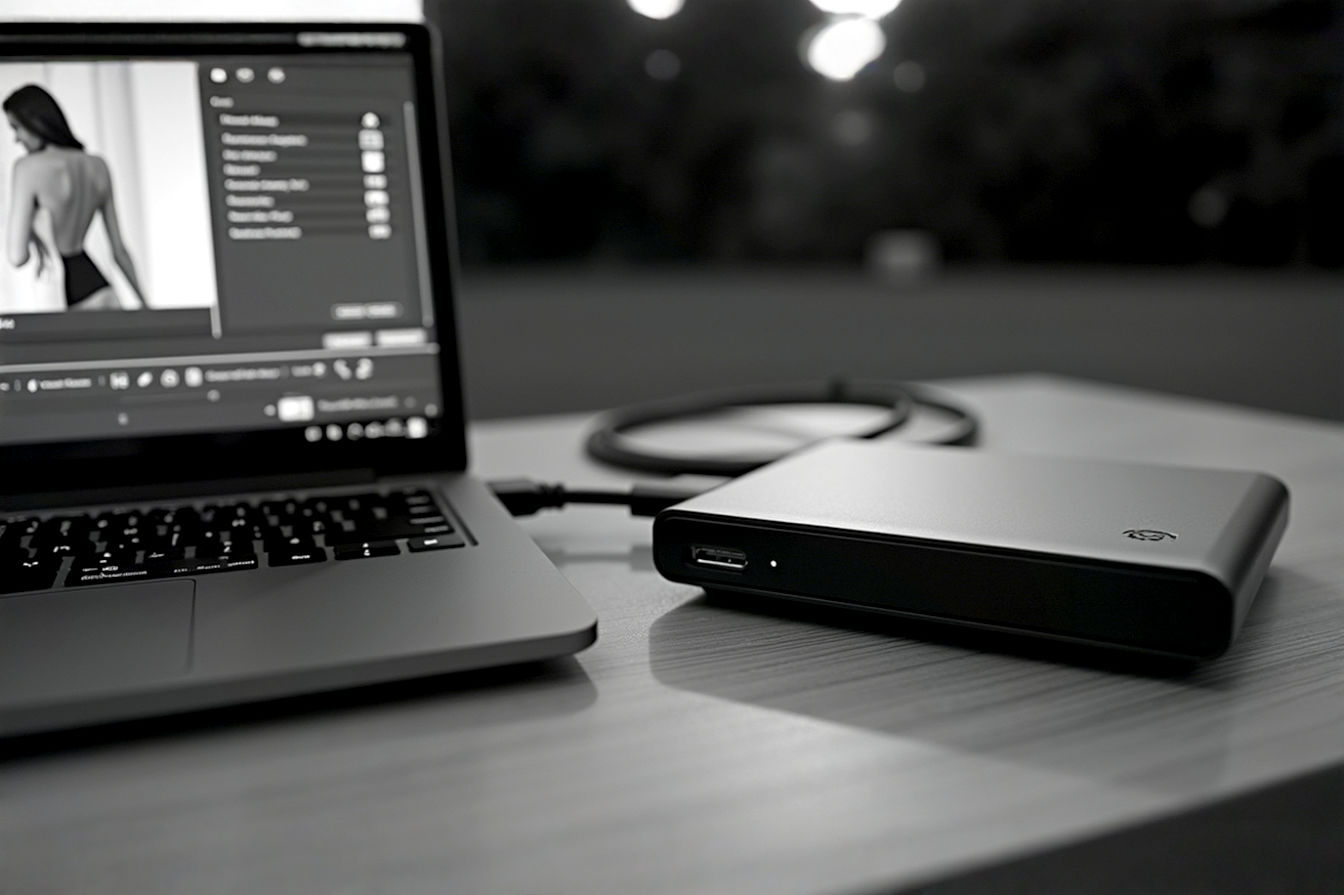
The promise of a Solid State Drive (SSD) is simple: speed. You buy one, especially an external one you connect via USB, expecting lightning-fast file transfers, quick backups, and rapid access to your data. You picture moving huge video files or entire game libraries in mere moments. But sometimes, the reality doesn’t match the expectation. Instead of soaring speeds, you get frustratingly slow performance, barely better than an old spinning hard drive. What gives?
A slow external SSD can seriously disrupt your workflow. Waiting minutes for files that should take seconds is a waste of your valuable time. It makes backups a chore and accessing large projects painful. If you’ve experienced this, you know how annoying it is. The good news is that many common causes for a sluggish USB SSD can be identified and fixed surprisingly fast. Often, you can dramatically improve performance in just about 15 minutes. This guide will walk you through why your external SSD might be slow and provide a step-by-step checklist to get it back up to speed quickly. We’ll also look at some deeper fixes and how to prevent future slowdowns.
Understanding the Bottlenecks: Why Your USB SSD Isn’t Reaching Its Potential
When your external SSD isn’t performing as expected, it’s easy to blame the drive itself. But the truth is, the speed you see depends on more than just the SSD. Think of it like a team effort; every player needs to be performing well for the team to win. In the case of external storage, the “team” includes the drive, the cable, the port on your computer, the enclosure the SSD is in, and even your computer’s software settings. A slowdown in any one of these areas can create a bottleneck that limits the overall speed.
Let’s break down these potential bottlenecks to understand what might be holding your drive back.
The USB Interface: More Complex Than It Looks
The way your external SSD connects to your computer is through a USB interface. Over the years, USB technology has evolved significantly, with each new version promising faster speeds.
- USB 2.0: This is the oldest standard you’re likely to encounter. It has a theoretical maximum speed of 480 Megabits per second (Mbps). In the real world, you’ll typically see speeds closer to 30-40 Megabytes per second (MB/s). If your SSD is stuck at these speeds, a USB 2.0 connection is almost certainly the culprit.
- USB 3.x: This is where things get a bit confusing due to renaming.
- USB 3.2 Gen 1 (formerly USB 3.0/3.1 Gen 1): Offers speeds up to 5 Gigabits per second (Gbps), or about 500 MB/s in practice. This is a significant jump from USB 2.0.
- USB 3.2 Gen 2 (formerly USB 3.1 Gen 2): Doubles the speed to 10 Gbps, or roughly 1000 MB/s (1 GB/s). Many modern external SSDs use this interface.
- USB 3.2 Gen 2×2: Pushes speeds to 20 Gbps (around 2000 MB/s), but requires specific hardware support on both the drive and the computer. It’s less common than Gen 2.
- USB4 / Thunderbolt: These interfaces, often sharing the USB-C connector, offer speeds up to 40 Gbps (around 2000-3000 MB/s or even faster with NVMe drives), representing the current peak for consumer external storage.
It’s important to understand the difference between theoretical speeds (the maximum possible under perfect conditions) and real-world speeds (what you actually get, which is always lower due to protocol overhead and other factors). The key takeaway here is that for your SSD to be fast, the USB version it uses must match or exceed the speed the SSD is capable of, and your computer’s port must support that same version. Connecting a super-fast 10 Gbps SSD to a 5 Gbps port will limit its speed, and connecting it to a 480 Mbps USB 2.0 port will make it crawl.
The Cable: A Simple Component with a Big Impact
The cable connecting your external SSD to your computer is a critical, yet often overlooked, component. A surprising number of slowdowns are caused by using the wrong cable.
Not all USB cables are created equal. A cable designed for USB 2.0 will only ever transfer data at USB 2.0 speeds, even if you plug it into a USB 3.x or Thunderbolt port and connect it to a fast SSD. This is because the cable simply doesn’t have the necessary wires to handle the higher data rates. Look for cables specifically labeled for USB 3.x (often called SuperSpeed) or USB4/Thunderbolt. These cables have more internal wires to support the faster data transfer.
Cable quality and length also play a role. A poorly made cable or one that’s excessively long can suffer from signal degradation, leading to slower speeds or even connection issues. Using a high-quality cable rated for the speed of your drive and port is essential.
The Port on Your Computer: Not Just a Socket
The USB port you plug your external SSD into on your computer also matters significantly. Different ports on the same computer might support different USB versions.
On older computers, USB 2.0 ports are common. USB 3.x ports are often identified by a blue color inside the port or a “SS” (SuperSpeed) symbol next to it. USB-C ports are physically smaller and reversible, but they can support various speeds, from USB 2.0 up to USB4/Thunderbolt, depending on how they’re implemented on your computer’s motherboard.
The internal wiring and the specific USB controller chip on your motherboard connected to that port also affect performance. Some ports might share bandwidth with other devices, potentially slowing down your SSD when those other devices are active. Using a port directly on the motherboard (on the back of a desktop) is often better than using ports on the front of a case or on a cheap USB hub, as these can sometimes introduce bottlenecks or power issues.
The External Enclosure or Adapter: The Translator
If you bought a bare SSD and put it into a separate external enclosure, or if you’re using a USB-to-SATA/NVMe adapter, the quality and capabilities of that enclosure or adapter are crucial. This device acts as a bridge, translating commands between the USB interface and the SSD’s internal interface (usually SATA or NVMe).
A key technology here is UASP (USB Attached SCSI Protocol). This is a transfer protocol that allows for faster and more efficient data transfer over USB compared to the older BOT (Bulk-Only Transport) protocol. UASP enables multiple commands to be sent simultaneously (command queuing), which is essential for getting good performance from an SSD over USB. If your enclosure or adapter doesn’t support UASP, your SSD’s performance will be significantly limited, even if you’re using a fast USB port and cable.
The quality of the chipset inside the enclosure also varies. Cheaper enclosures might use older or less efficient chipsets that can’t keep up with a fast SSD. Additionally, enclosures, especially those for high-speed NVMe drives, can suffer from thermal throttling. SSDs generate heat, and if the enclosure doesn’t dissipate this heat effectively, the SSD or the enclosure’s chipset might slow down performance to prevent overheating and potential damage.
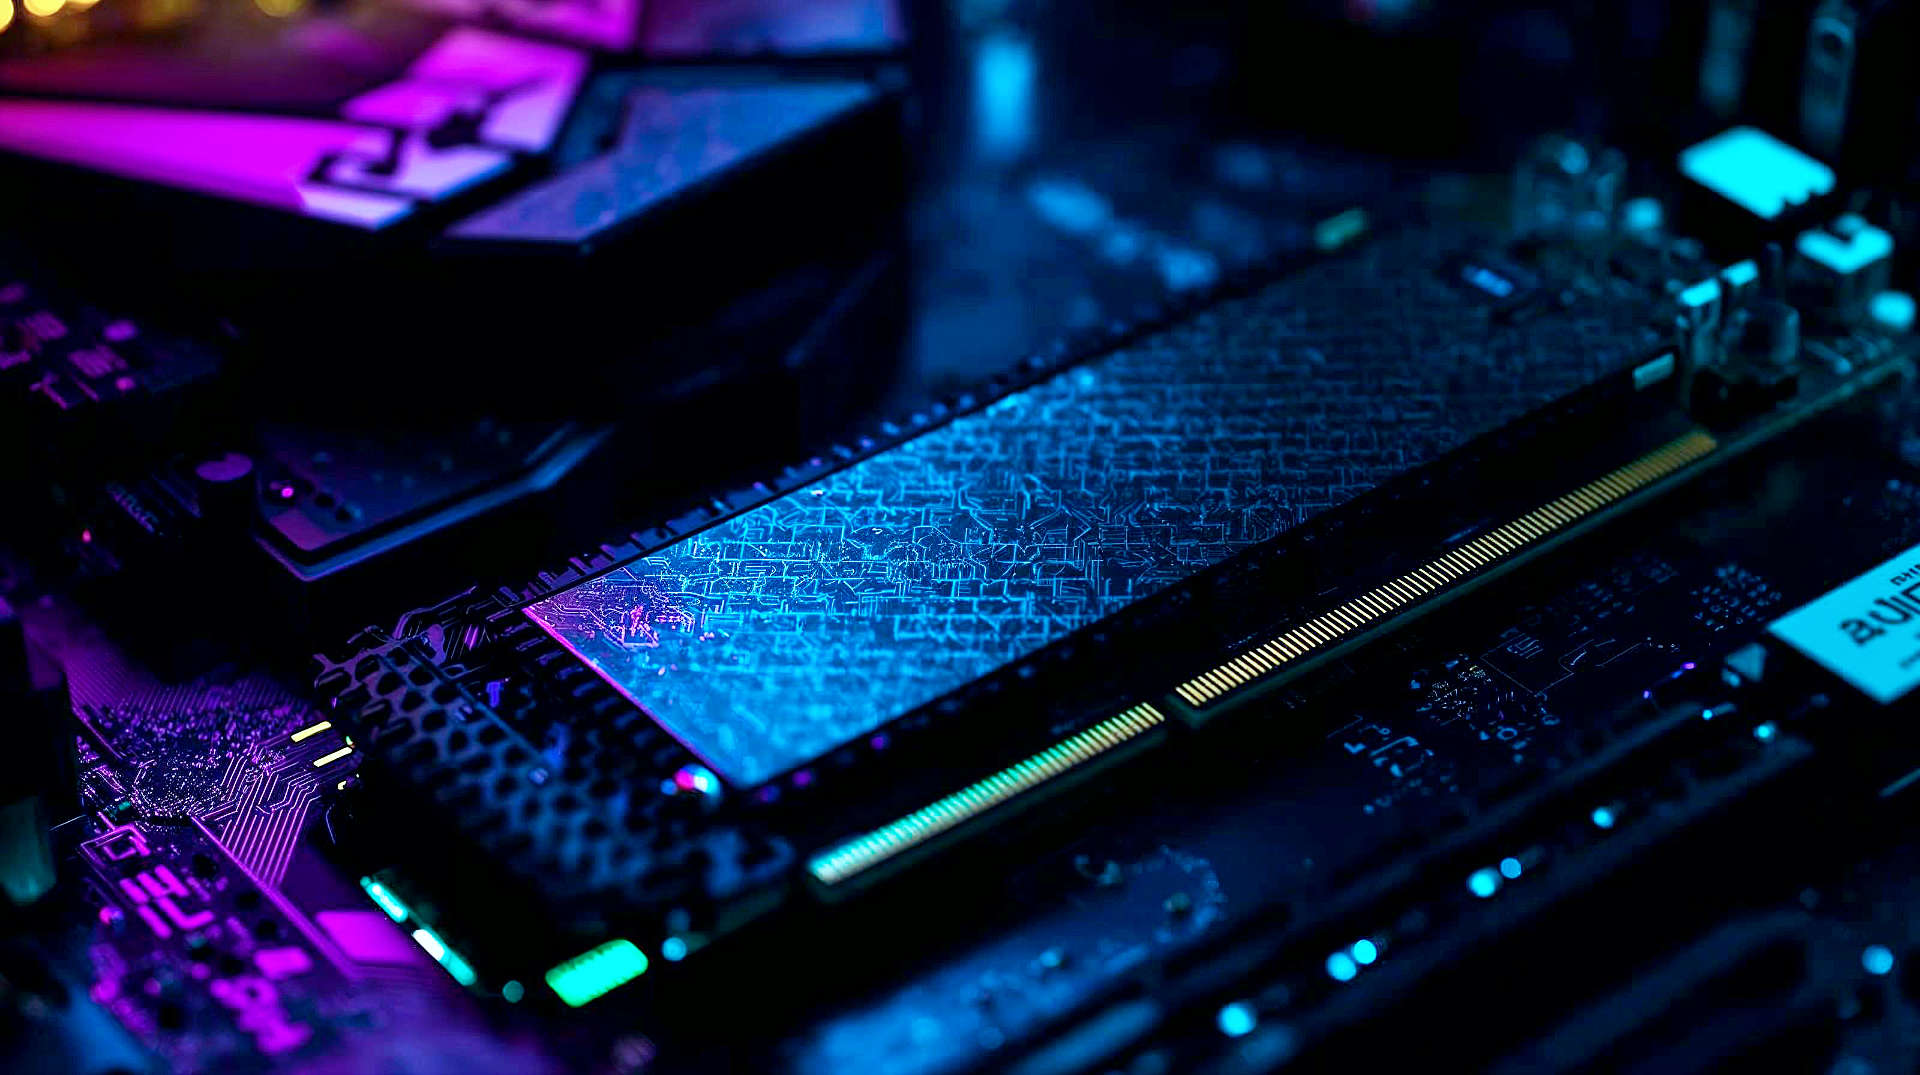
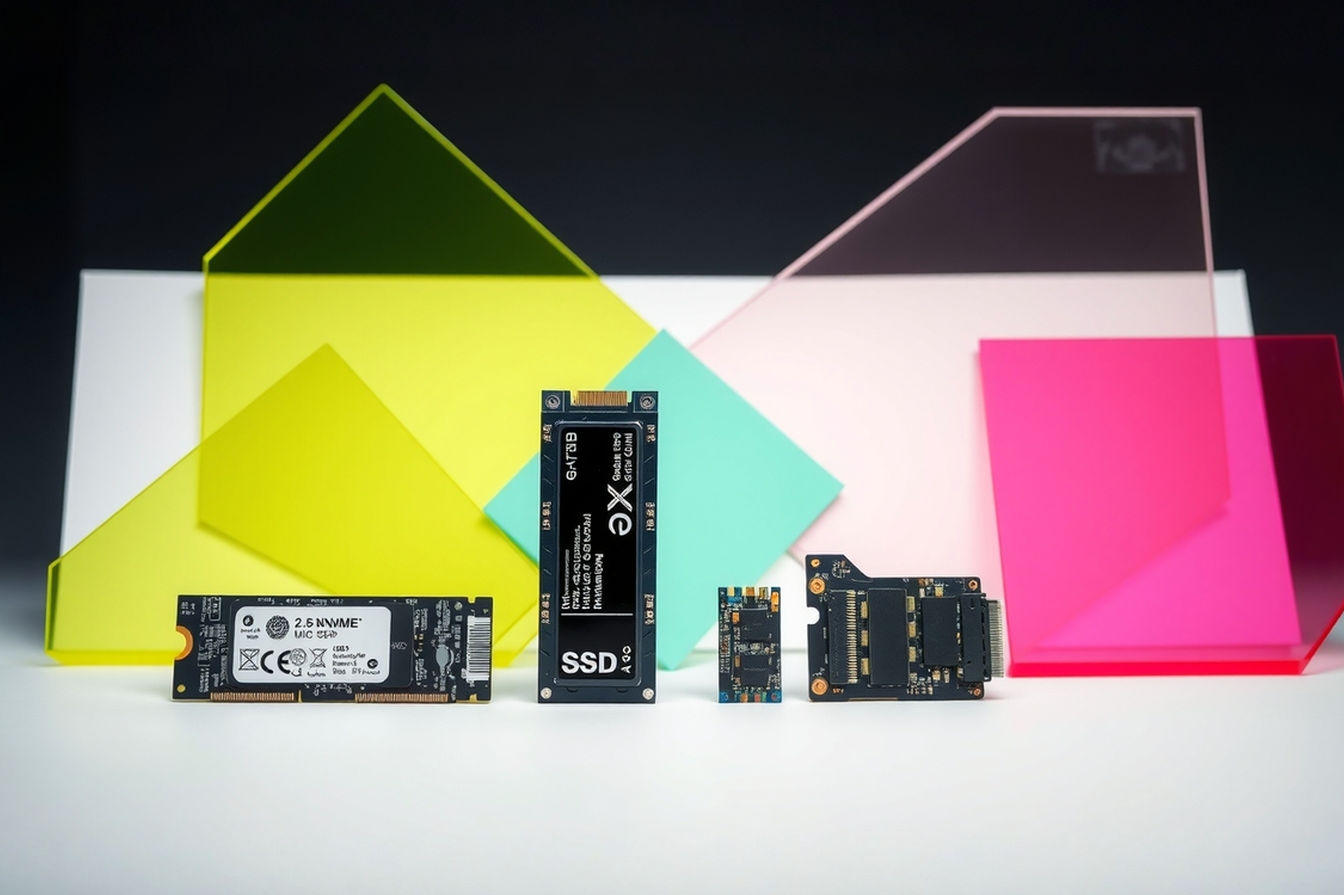
The SSD Inside (or the Drive Itself): The Core Component
Of course, the SSD itself is a major factor in performance. External SSDs typically use either SATA or NVMe drives internally.
- SATA SSDs: These drives connect internally using the SATA interface, which has a maximum speed of about 550 MB/s. External enclosures for SATA SSDs connect via USB, and their maximum speed will be limited by either the SATA interface or the USB interface (whichever is slower). A SATA SSD in a USB 3.2 Gen 1 (5 Gbps) enclosure will likely max out the SATA speed (around 500 MB/s), while in a USB 3.2 Gen 2 (10 Gbps) enclosure, it will still be limited by SATA speeds.
- NVMe SSDs: These drives use the NVMe protocol over a PCIe connection internally, which is much faster than SATA. NVMe SSDs can offer speeds ranging from 1000 MB/s up to 7000 MB/s or more. To get these speeds externally, you need an enclosure specifically designed for NVMe drives that connects via a fast USB interface like USB 3.2 Gen 2 (10 Gbps), USB 3.2 Gen 2×2 (20 Gbps), or Thunderbolt (40 Gbps). An NVMe drive in a slower enclosure will be bottlenecked by the enclosure’s capabilities.
The type of NAND flash memory used in the SSD also affects performance and endurance:
- SLC (Single-Level Cell): Stores one bit per cell. Fastest and most durable, but expensive and low capacity. Rarely used in consumer drives.
- MLC (Multi-Level Cell): Stores two bits per cell. Good balance of speed, endurance, and cost. Less common now in consumer drives.
- TLC (Triple-Level Cell): Stores three bits per cell. Good capacity and cost, decent performance. Most common type today.
- QLC (Quad-Level Cell): Stores four bits per cell. Highest capacity and lowest cost, but generally the slowest and least durable.
Many TLC and QLC drives use a portion of their capacity as a faster SLC cache (pSLC). When you write data, it first goes to this fast cache. Once the cache is full, the drive has to write directly to the slower TLC/QLC NAND, and performance drops significantly. This is often why you see very fast speeds for the first few gigabytes of a transfer, followed by a sudden drop. Drives with a dedicated DRAM cache can help manage data more efficiently and maintain better sustained performance, especially during heavy write operations.
Finally, the firmware—the internal software on the SSD’s controller—can impact performance. Firmware bugs can cause slowdowns or compatibility issues. Manufacturers occasionally release firmware updates to address these problems.
Software and Operating System Factors: Settings and Processes
Your computer’s operating system and other software can also contribute to a slow external SSD.
- Drivers: Outdated or corrupted drivers for your USB controller or chipset can prevent the port from operating at full speed.
- Power Management: Operating systems often have power-saving features that can reduce power to USB devices when they’re not actively being used. While good for battery life, this can sometimes cause delays or performance issues when the drive is accessed.
- Background Processes: Software running in the background, such as antivirus scans, file indexing services (like Windows Search or macOS Spotlight), or cloud sync applications, might be constantly accessing your external drive, slowing down other operations.
- File System: The way your drive is formatted (NTFS, exFAT, APFS, etc.) can impact compatibility and performance. File system errors can also lead to slowdowns.
- TRIM Command: For SSDs, the TRIM command is essential for maintaining write performance over time. It tells the drive which data blocks are no longer needed so the drive can erase them efficiently in the background. If TRIM isn’t working correctly or isn’t supported by your setup, the drive’s performance can degrade.
Understanding these potential bottlenecks is the first step to fixing your slow external SSD. Now, let’s move on to the quick troubleshooting steps you can take in about 15 minutes.
The 15-Minute Troubleshooting Checklist: Quick Wins
Okay, let’s get to the actionable steps. These are the things you can check and fix relatively quickly, often resolving the most common causes of a slow external SSD. Grab your drive, connect it to your computer, and let’s go through this checklist.
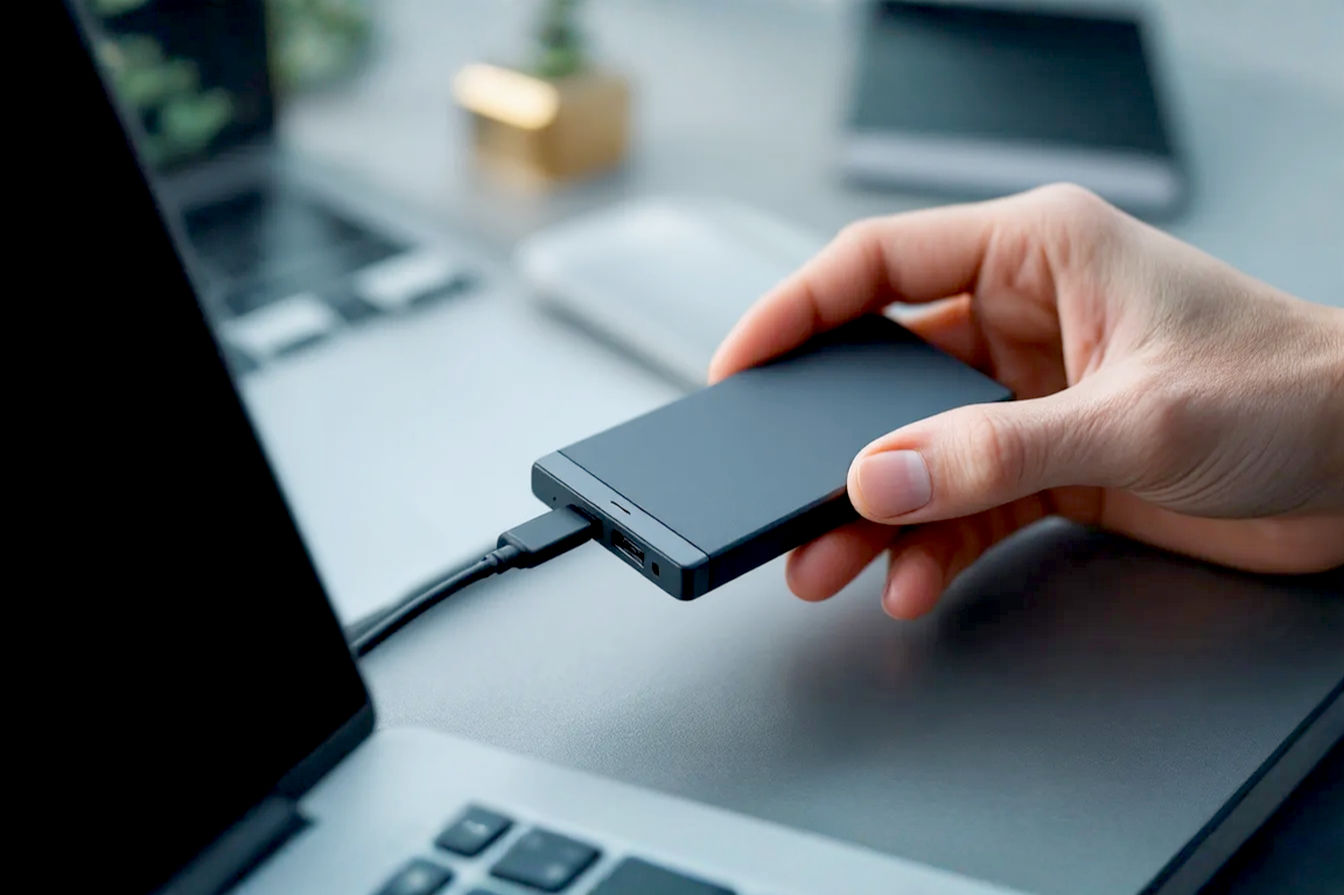
Step 1: Check the Physical Connection (Cable and Port)
This might seem obvious, but it’s the most frequent culprit and the easiest to fix. A loose connection, a bad cable, or the wrong port can severely limit your speed.
- Action:Disconnect and reconnect the drive.
- Gently unplug the USB cable from both your computer and the external SSD. Wait a few seconds.
- Plug the cable firmly back into both the drive and the computer. Make sure it clicks securely into place.
- Explanation: This simple action can fix temporary glitches in the connection or ensure the drive is properly recognized by the system.
- Action:Try a different USB port.
- If you were using a front panel port on a desktop, try a port directly on the back of the computer.
- If you have multiple ports of the same type (e.g., several USB 3.0 ports), try a different one.
- If you have different types of ports (e.g., USB-A and USB-C), try connecting to a different type, assuming your cable allows it.
- Explanation: Different ports can be connected to different internal controllers on your motherboard. One port might be faulty, or its controller might be overloaded or have driver issues. Trying a different port helps isolate the problem.
- Action:Try a different high-quality USB cable.
- This is critical. Ensure the replacement cable is rated for the speed your SSD and port are capable of (e.g., if you have a USB 3.2 Gen 2 SSD and port, use a cable specifically marked for 10 Gbps or SuperSpeed+).
- Avoid using very long or very cheap cables for testing.
- Explanation: A faulty or incompatible cable is a very common reason for slow speeds. Even if a cable looks fine, its internal wiring might be damaged or not meet the specifications for high-speed transfer. This single step fixes many “slow external SSD” problems.
After performing these actions, test your drive’s speed again. Copy a large file or run a quick benchmark. If the speed improves, you’ve likely found your issue.
Step 2: Verify USB Drivers and System Updates
Your operating system relies on drivers to communicate with hardware, including USB ports and connected devices. Outdated or corrupted drivers can cause performance problems.
- Action (Windows):Check Device Manager for errors.
- Right-click the Start button and select “Device Manager.”
- Expand “Universal Serial Bus controllers” and “Disk drives.”
- Look for any devices with a yellow exclamation mark or a red “X.” This indicates a problem.
- If you see an issue, right-click the device and try “Update driver” or “Uninstall device” (then restart your computer to reinstall the driver).
- Explanation: Device Manager shows you if your hardware is recognized correctly and if there are driver conflicts or issues.
- Action (macOS):Check System Information.
- Click the Apple menu, hold down the Option key, and select “System Information.”
- Under the “Hardware” section, select “USB.”
- Find your external SSD in the list. Check if it’s recognized correctly and listed under the expected USB speed (e.g., “USB 3.1 Bus” for 10 Gbps).
- Explanation: System Information confirms how your Mac sees the connected USB devices and the speed of the connection.
- Action:Run Windows Update or macOS Software Update.
- Ensure your operating system is fully up to date.
- Explanation: OS updates often include updated drivers and bug fixes that can improve hardware compatibility and performance.
- Action (Quick Check):Check motherboard manufacturer website for recent chipset/USB drivers (Windows).
- Identify your computer’s motherboard model (or laptop model).
- Visit the manufacturer’s support website and look for downloads for your specific model.
- Check for updated “Chipset” or “USB” drivers. Download and install any available updates.
- Explanation: While Windows Update provides generic drivers, manufacturer-specific drivers can sometimes offer better performance or stability.
Test your drive again after checking and updating drivers.
Step 3: Optimize Power Settings (Windows)
Windows has power-saving features that might interfere with sustained high-speed transfers on USB devices.
- Action:Access Power Options.
- Search for “Power Options” in the Windows search bar and open it.
- Click “Change plan settings” for your currently active power plan.
- Click “Change advanced power settings.”
- Action:Disable USB Selective Suspend.
- In the Advanced settings window, expand “USB settings.”
- Expand “USB selective suspend setting.”
- Set the setting to “Disabled” for both “On battery” and “Plugged in.”
- Click “Apply” and “OK.”
- Explanation: USB selective suspend allows the OS to put individual USB ports to a low-power state to save energy. Sometimes, this feature doesn’t wake up correctly or introduces delays when the drive is accessed, impacting performance.
- Action:Ensure a performance-oriented power plan.
- Back in the main Power Options window, ensure you are using a “Balanced” or “High performance” plan.
- Explanation: The “Power saver” plan can sometimes throttle system resources, which might indirectly affect USB performance.
Restart your computer after changing power settings and test the drive again.
Step 4: Check Drive Recognition and Basic Health
Verify that your operating system is seeing the drive correctly and look for any obvious signs of problems reported by the system.
- Action (Windows):Open Disk Management.
- Right-click the Start button and select “Disk Management.”
- Find your external SSD in the list of disks.
- Ensure it shows as “Online” and has a healthy partition.
- Explanation: Disk Management shows you how Windows recognizes physical storage devices. If the drive isn’t listed correctly or shows errors here, it’s a more fundamental issue.
- Action (macOS):Open Disk Utility.
- Search for “Disk Utility” in Spotlight or find it in Applications > Utilities.
- Select your external SSD from the sidebar.
- Ensure the drive mounts correctly.
- Explanation: Disk Utility is the macOS tool for managing disks and volumes.
- Action:Look for basic health information (where available).
- Some operating systems or drive management tools (if you have one installed for your specific SSD brand) might show basic SMART (Self-Monitoring, Analysis and Reporting Technology) data.
- Explanation: SMART is a system that monitors the health of storage drives. External enclosures don’t always pass this information through reliably, but if you see warnings, it’s a red flag. For Windows, free tools like CrystalDiskInfo can sometimes read SMART data from external drives if the enclosure supports it.
If the drive isn’t recognized at all, or shows significant errors in Disk Management/Disk Utility, the problem might be more severe than a simple slowdown.
Step 5: Test with Different File Types/Sizes and Benchmarks
Understanding how your drive performs with different types of data can provide clues about the bottleneck. Benchmarking gives you objective numbers.
- Action:Copy a single large file.
- Find a large file (e.g., a video file several gigabytes in size).
- Copy it to or from the external SSD. Note the transfer speed reported by your file manager.
- Action:Copy a folder with many small files.
- Find a folder containing thousands of small files (e.g., photos, documents, program files).
- Copy this folder to or from the external SSD. Note the transfer speed.
- Explanation: SSDs are much faster at sequential reads/writes (like copying a single large file) than random reads/writes (like copying many small files). If large files transfer quickly but small files are very slow, this is normal behavior for SSDs, though excessive slowness with small files could still indicate an issue.
- Action:Run a quick benchmark.
- Download and run a free benchmarking tool like CrystalDiskMark (Windows) or Blackmagic Disk Speed Test (macOS).
- Select your external SSD and run the default tests.
- Note the sequential read and write speeds, and the random read and write speeds.
- Explanation: Benchmarks provide standardized speed measurements. Compare the sequential speeds to the theoretical maximums of your USB interface and SSD type (SATA vs. NVMe) to see if you’re getting close to expected performance. For example, a USB 3.2 Gen 2 (10 Gbps) NVMe drive might hit sequential speeds around 900-1000 MB/s, while a USB 3.2 Gen 1 (5 Gbps) SATA drive might top out around 450-500 MB/s. If your benchmark results are far below expectations, there’s definitely a problem.
Completing these five steps should take you around 15 minutes and will often reveal the source of your slowdown. If your problem is solved, great! If not, or if you want to optimize further, the next section covers more advanced fixes.
Deeper Dive: Advanced Fixes (Beyond the Quick 15 Minutes)
If the quick checklist didn’t fully resolve your slow external SSD issues, or if you want to ensure optimal long-term performance, these advanced steps might be necessary. They can take longer than 15 minutes and might involve slightly more technical procedures.
Enabling and Verifying TRIM
TRIM is a crucial command for maintaining the write performance of SSDs, especially as they fill up.
- Technical Explanation: When you delete a file on a traditional hard drive, the data isn’t immediately erased; the space is just marked as available. When new data needs to be written, the drive can simply overwrite that space. On an SSD, however, data is written to “pages” within “blocks.” Before a block can be written to, it must first be erased. If the drive doesn’t know which pages within a block are no longer needed (because a file using them was deleted), it has to copy the still-needed data from that block to a new block, erase the entire original block, and then write the new data. This process, called “read-modify-write,” takes extra time and slows down write performance. The TRIM command tells the SSD immediately when a file (and thus its pages) is deleted, allowing the drive’s garbage collection process to erase those blocks in the background during idle time, making them ready for quick writes later.
- Why it matters for external drives: If TRIM isn’t working on an external SSD, the drive’s garbage collection becomes less efficient. As you write and delete data, more and more blocks will contain a mix of valid and invalid data, leading to more read-modify-write cycles and progressively slower write speeds over time.
- Checking TRIM status (Windows):
- Open Command Prompt as administrator (search for “cmd”, right-click, “Run as administrator”).
- Type
fsutil behavior query DisableDeleteNotifyand press Enter. - If the output is
DisableDeleteNotify = 0, TRIM is enabled. If it’s1, TRIM is disabled.
- Enabling TRIM (Windows):
- If TRIM is disabled (
DisableDeleteNotify = 1), open Command Prompt as administrator again. - Type
fsutil behavior set DisableDeleteNotify 0and press Enter. - Restart your computer.
- If TRIM is disabled (
- TRIM and External Enclosures: This is a key point. For TRIM commands from the operating system to reach the SSD, the external enclosure’s chipset must support UASP and be designed to pass these commands through. Older enclosures or those using the BOT protocol typically do not support TRIM. If you’ve enabled TRIM in Windows but performance still degrades over time, your enclosure might be the limiting factor.
- macOS and TRIM: macOS generally enables TRIM automatically for both internal and external SSDs that support it, provided the enclosure also supports passing the command (usually via UASP). You typically don’t need to manually enable it.
If you suspect TRIM isn’t working, especially on Windows with an older enclosure, this could be a major reason for performance degradation over time.
Checking and Updating SSD Firmware
The firmware is like the mini-operating system for your SSD’s controller chip. It manages how data is stored, retrieved, and maintained. Firmware updates can fix bugs, improve compatibility, and sometimes enhance performance or endurance.
- Technical Explanation: SSD controllers are complex processors that manage NAND flash, wear leveling (distributing writes evenly to prolong life), garbage collection (TRIM is part of this), error correction (ECC), and communication with the host system. Firmware bugs can lead to inefficient management of these tasks, resulting in slowdowns, instability, or even data loss in rare cases. Manufacturers release updated firmware to address these issues or optimize performance based on user feedback or new discoveries.
- Identifying the SSD model: If you bought a pre-built external SSD (like a Samsung T7, Crucial X8, etc.), the model is usually clear. If you put a bare internal SSD into an enclosure, identifying the exact SSD model inside can be tricky without opening the enclosure. Sometimes, system information tools or device managers can provide the model number, but it might just show the enclosure’s chipset.
- Using Manufacturer Tools: Major SSD manufacturers like Samsung, Crucial, Western Digital, and SK Hynix provide free software utilities (e.g., Samsung Magician, Crucial Storage Executive, WD SSD Dashboard). These tools can often detect the SSD model, report its health (SMART data), and check for and install firmware updates. However, these tools don’t always work with external SSDs, especially if the enclosure uses a generic chipset that doesn’t pass the necessary information through. You might need to temporarily connect the SSD internally (if it’s a standard 2.5″ SATA or M.2 NVMe drive) to update its firmware using the manufacturer’s tool.
- The Update Process: Firmware updates are not something to take lightly. Updating firmware carries a small risk of data loss or rendering the drive unusable if something goes wrong (e.g., power loss during the update). Always back up all important data from the external SSD before attempting a firmware update. The update process usually involves downloading the manufacturer’s tool, running it, and following the on-screen instructions. The computer might need to restart during the process.
If a known performance issue or bug for your specific SSD model was fixed in a firmware update, applying it could solve your problem.
File System Checks and Optimization
The file system organizes how data is stored and accessed on the drive. Issues with the file system can lead to errors and slowdowns.
- File System Choice:
- NTFS: The standard file system for Windows. Supports large files and partitions, has features like journaling for data integrity, and permissions. Good performance on Windows.
- exFAT: Designed for flash drives and external media. Compatible with Windows, macOS, and Linux. Simpler than NTFS, but lacks some features like journaling, which can make it slightly more susceptible to corruption if the drive is improperly disconnected. Generally good performance, especially for large files.
- APFS: The modern file system for macOS. Optimized for SSDs, supports features like snapshots and space sharing. Best performance on macOS.
- HFS+ (Mac OS Extended): Older macOS file system. Still compatible but less optimized for SSDs than APFS.
- Explanation: Choosing the right file system depends on your needs (cross-platform compatibility vs. OS-specific features and performance). Using a file system native to your primary operating system (NTFS for Windows, APFS for macOS) often provides the best performance, but exFAT is necessary for easy sharing between Windows and macOS.
- Running Error Checks: File system errors can occur due to improper disconnections, power outages, or software glitches. These errors can cause files to be inaccessible or slow down access as the system tries to navigate a corrupted structure.
- Windows: Open File Explorer, right-click the external drive, select “Properties,” go to the “Tools” tab, and click “Check” under “Error checking.” You might need to click “Scan and repair drive.” This runs the
chkdskutility. - macOS: Open Disk Utility, select the volume (partition) of your external SSD in the sidebar, and click “First Aid.” Click “Run” to check for and repair file system errors.
- Explanation: These tools scan the file system structure for inconsistencies and errors and attempt to repair them. Running them can sometimes resolve slowdowns caused by file system corruption.
- Windows: Open File Explorer, right-click the external drive, select “Properties,” go to the “Tools” tab, and click “Check” under “Error checking.” You might need to click “Scan and repair drive.” This runs the
- Reformatting the Drive:
- When necessary: If file system errors persist, if you need to change the file system type for compatibility or performance reasons, or if the drive is behaving erratically, reformatting might be the solution.
- CRITICAL WARNING: Reformatting erases ALL data on the drive. Make absolutely certain you have backed up everything important before proceeding with a reformat.
- How to reformat:
- Windows: Open Disk Management, right-click the partition on your external SSD, select “Format.” Choose the desired file system (NTFS or exFAT are common choices for external drives) and allocation unit size (default is usually fine). Perform a “Quick format” unless you suspect bad sectors (a full format checks for these but takes much longer).
- macOS: Open Disk Utility, select the entire external drive (not just the volume) in the sidebar, and click “Erase.” Choose the desired format (APFS or exFAT are common). Use the “Scheme” option to choose a partition map (GUID Partition Map is standard for modern drives).
- Explanation: Reformatting creates a fresh, clean file system on the drive, which can resolve many software-related performance issues and corruption problems.
Reformatting is a drastic step because it deletes all data, but it’s often effective at fixing persistent file system or software-related performance problems.
Addressing External Enclosure Issues
If you’ve ruled out cables, ports, drivers, and software issues, the external enclosure itself could be the bottleneck.
- Diagnosing Enclosure Problems: The best way to test if the enclosure is the issue is to try the bare SSD (if it’s a standard internal drive) in a different, known-good external enclosure or connect it internally to your computer (if possible). If the SSD performs well in a different setup but is slow in its current enclosure, the enclosure is the problem.
- Thermal Throttling Revisited: Pay attention to whether the slowdown happens after the drive has been under heavy load for a while (e.g., copying large amounts of data). Feel the enclosure – is it very hot? External SSDs, especially fast NVMe ones, can generate significant heat. If the enclosure lacks adequate cooling (like a heatsink or fan), the drive or controller will intentionally slow down to prevent overheating. This is thermal throttling.
- Explanation: Modern SSDs have built-in temperature sensors. When a critical temperature is reached, the firmware reduces performance to cool down the components. This protects the drive but results in a significant speed drop.
- Testing the Bare Drive: If you’re comfortable doing so, carefully remove the SSD from its current enclosure. You might need small screwdrivers or a plastic prying tool. Be aware that opening some enclosures might void a warranty. Once the bare drive is out, you can try it in another enclosure or connect it internally using a SATA cable (for 2.5″ drives) or an M.2 slot (for NVMe drives) on your motherboard.
- Considering a Different Enclosure: If you determine the enclosure is the problem, upgrading to a higher-quality one can make a big difference. Look for enclosures that specifically mention:
- UASP support: Essential for good SSD performance over USB.
- Good thermal design: Metal enclosures, integrated heatsinks, or thermal pads to help dissipate heat.
- The correct USB interface: Matches the speed of your port and SSD (e.g., 10 Gbps for most NVMe drives).
- Positive reviews: Check reviews focusing on sustained performance and thermals.
A poor-quality or poorly designed enclosure can be a permanent bottleneck, limiting the performance of even the fastest SSD.
Preventing Future Slowdowns
Once you’ve got your external SSD running fast again, you’ll want to keep it that way. Here are some best practices to prevent future slowdowns:
- Use Certified Cables and Ports: Always use the high-quality cable that came with your external SSD, or purchase a certified replacement rated for the correct speed. Connect the drive to the fastest, most reliable USB port available on your computer. Avoid cheap or unpowered USB hubs if possible.
- Keep Software Updated: Regularly run Windows Update or macOS Software Update. Check your motherboard manufacturer’s website for updated chipset and USB drivers periodically. If your SSD manufacturer offers a management tool, use it to check for firmware updates (but remember the backup warning!).
- Monitor Drive Health: If your SSD manufacturer provides a tool that works with the external drive, use it to check the drive’s SMART data occasionally. This can give you an early warning of potential issues.
- Don’t Fill the Drive Completely: Try to leave at least 15-20% of the drive’s capacity free. This provides space for the SSD’s controller to perform wear leveling and garbage collection tasks efficiently, which helps maintain write performance and prolong the drive’s lifespan.
- Properly Eject the Drive: Always use the “Safely Remove Hardware” icon in the Windows taskbar or the “Eject” command in macOS before disconnecting the drive. This ensures that the operating system finishes any pending write operations and allows the drive’s controller to complete any background maintenance tasks before power is cut. Abruptly unplugging the drive can cause file system corruption and potentially interrupt important background processes like garbage collection.
- Consider Enclosure Quality for New Purchases: If you’re buying a new external SSD or an enclosure for a bare drive, do a little research. Look for products from reputable brands with good reviews regarding sustained performance, thermal management, and UASP support.
- Understand Your Workload: If you consistently transfer massive amounts of data (hundreds of gigabytes or terabytes), be aware that even fast TLC/QLC drives might experience performance drops once their SLC cache is exhausted. For such heavy, sustained workloads, consider higher-end drives with larger or more robust cache implementations, or even enterprise-grade SSDs if your budget allows. Also, be mindful of thermal limits during long transfers.
By adopting these habits, you can help ensure your external SSD continues to deliver the fast performance you expect.
When Troubleshooting Isn’t Enough: Considering Replacement
You’ve tried the quick fixes, you’ve delved into the advanced troubleshooting steps, but your external SSD is still frustratingly slow, or it’s exhibiting other strange behavior like frequent disconnections or data errors. At this point, it might be time to consider that the drive or enclosure is faulty or simply worn out.
- Signs of a Failing Drive:
- Extremely low speeds that don’t improve after troubleshooting.
- Frequent disconnections or the drive disappearing from your system.
- Errors when trying to read, write, or format the drive.
- Files becoming corrupted.
- Unusual noises (though less common with SSDs compared to HDDs, some enclosures with fans might make noise).
- SMART data reporting warnings or failure predictions (if you can access it).
- When to Give Up on Fixing: If you’ve gone through this guide’s steps and the problem persists, or if the drive shows clear signs of instability or failure, continuing to troubleshoot might not be productive. Your time is valuable, and a failing drive puts your data at risk.
- Cost-Benefit Analysis: Consider how much time and effort you’ve already put into fixing the drive. Weigh that against the cost of a new external SSD. Given the declining prices of SSDs, especially those offering much higher speeds than older models, replacing a problematic drive is often the most sensible and cost-effective solution in the long run. A new drive will not only restore speed but also provide peace of mind regarding data reliability.
Don’t keep important data on a drive that shows signs of failure. Back up anything you can immediately and plan for replacement.
Conclusion: Reclaim Your Speed
Dealing with a slow external SSD can be incredibly frustrating, turning what should be a speedy operation into a tedious wait. However, by understanding the various components that influence external storage performance – the USB interface, the cable, the port, the enclosure, the SSD itself, and even your system’s software settings – you can effectively diagnose the problem.
Often, the solution is one of the quick wins found in our 15-minute troubleshooting checklist: simply swapping out a faulty cable, trying a different port, or adjusting a power setting. For more stubborn issues, delving deeper into TRIM, firmware updates, file system checks, or evaluating the enclosure can uncover the root cause.
By taking a systematic approach and implementing the prevention tips, you can avoid many common pitfalls and keep your USB SSD performing at its best. Don’t let a slow drive hold you back; reclaim your speed and enjoy the fast data access you expected from your external SSD.