This post may contain affiliate links. If you make a purchase through these links, we may earn a commission at no additional cost to you.
An 11-inch Android tablet isn’t just for watching videos or browsing social media. With the right approach, it can become a powerful tool for work, study, and managing your daily life. The larger screen size offers a significant advantage over smaller tablets or phones, providing ample space for multitasking and interacting with content. But simply owning a capable tablet isn’t enough; you need to set it up and use it effectively to truly unlock its potential.
This comprehensive guide will walk you through practical strategies and essential tools to transform your 11-inch Android tablet into a productivity powerhouse. We’ll cover everything from optimizing your device’s settings and mastering multitasking features to leveraging external accessories and choosing the best apps for your workflow. By implementing these tips, you’ll be able to streamline your tasks, stay organized, and ultimately, get more done on your tablet.
Setting the Stage: Optimizing Your Tablet’s Foundation
Before diving into specific workflows or apps, it’s crucial to ensure your tablet’s basic setup supports productivity. A cluttered or poorly configured device can be a major roadblock. Taking some time to organize and adjust key settings will create a more efficient starting point.
Decluttering Your Digital Workspace
Think of your tablet’s home screen and app drawer as your digital desk. If it’s piled high with unnecessary icons and widgets, finding what you need becomes a chore. Start by uninstalling apps you no longer use. Long-press an app icon and look for the uninstall option. This frees up storage space and reduces visual clutter.
Next, organize your remaining apps. Group similar apps into folders on your home screen or in the app drawer. For example, you could have folders for “Work Tools,” “Communication,” “Creativity,” and “Utilities.” This makes it much faster to locate the app you need when you need it.
Streamlining Notifications
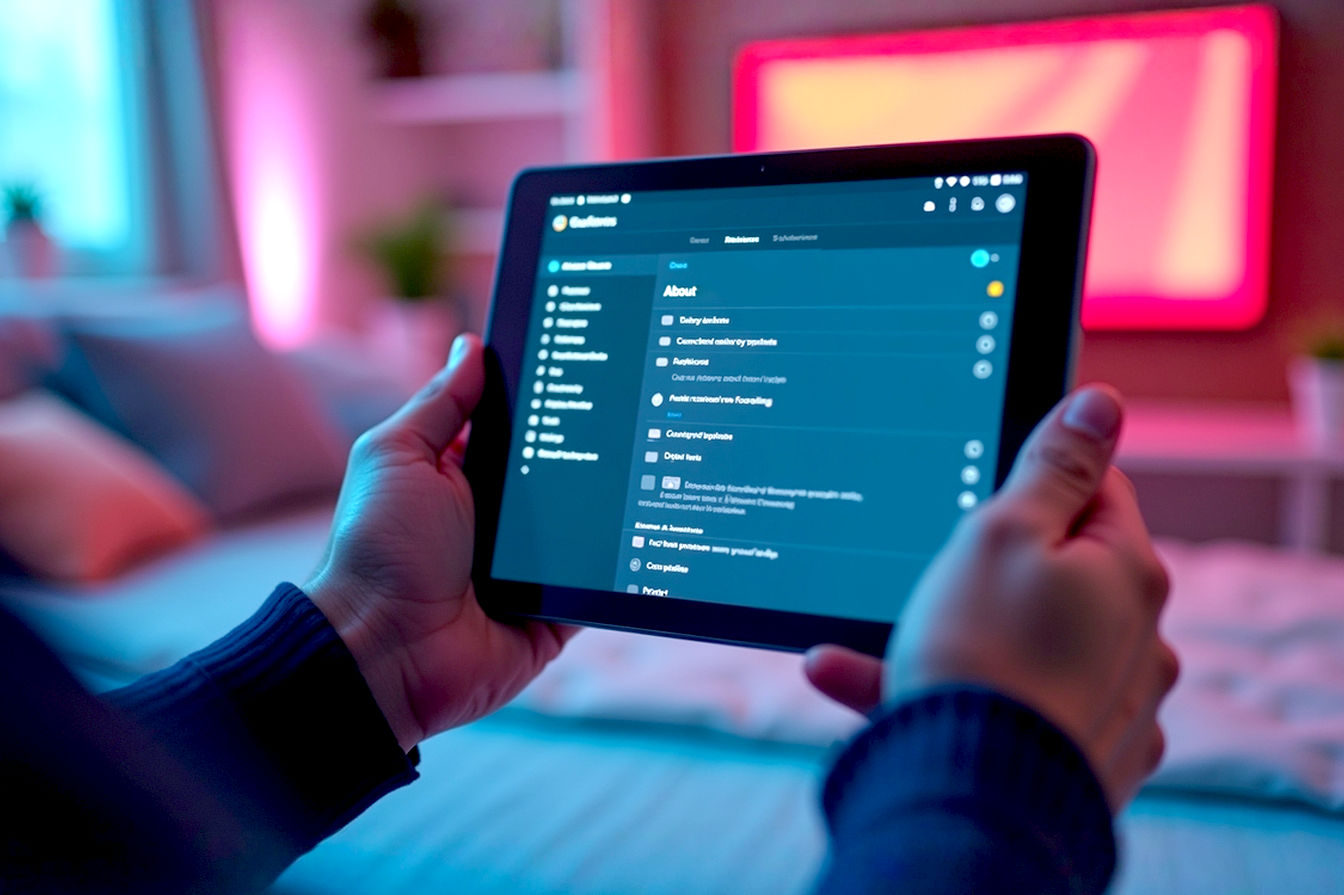
Constant pings and alerts are major distractions. While some notifications are important, many are not and can pull you away from focused work. Android gives you granular control over which apps can send notifications and how they appear.
Go into your tablet’s Settings, find “Notifications,” and review the list of apps. For each app, you can decide whether to block notifications entirely, allow them silently (no sound or vibration), or customize their behavior (e.g., turning off notification dots or banners). Be ruthless here; only allow notifications that are truly essential for your productivity or well-being. Reducing notification interruptions helps you stay focused on the task at hand.
Organizing Your Home Screen for Speed
Your home screen should provide quick access to your most frequently used apps and information. Avoid filling every page with icons. Instead, focus on a few key screens with strategically placed apps and widgets.
Consider using widgets that provide glanceable information without needing to open an app, such as a calendar agenda, a to-do list, or a weather widget if that’s relevant to your day. Place your most-used apps on the primary home screen or in the dock for instant access. Arrange icons logically, perhaps by frequency of use or by project. A well-organized home screen minimizes the time spent searching for apps, allowing you to transition between tasks more smoothly.
Mastering Multitasking on a Larger Screen
The 11-inch display real estate is a significant advantage for multitasking compared to smaller devices. Android offers powerful built-in features that let you use multiple apps simultaneously, mimicking a desktop experience. Learning to effectively use these features is fundamental to boosting productivity on your tablet.
Split Screen View: Working with Two Apps at Once
Split screen view is perhaps the most valuable multitasking tool on your Android tablet. It allows you to display and interact with two apps side-by-side. This is incredibly useful for tasks like writing a document while referencing a webpage, taking notes during a video call, or comparing information between two sources.
To activate split screen, open one of the apps you want to use. Then, access your recent apps list (usually by swiping up from the bottom and holding, or tapping a dedicated recent apps button). Tap the icon of the app you want to use in split screen (not the preview window), and select “Split screen” or “Open in split screen view.” The first app will occupy one half of the screen. Then, select the second app from your recent apps or app drawer, and it will fill the other half.
You can adjust the size of the split by dragging the divider bar between the two apps. This flexibility allows you to give more space to the app that requires more attention at that moment. Not all apps fully support split screen, but most major productivity apps do. Experiment to see which combinations work best for your workflow.
Pop-Up View: Flexible Floating Windows
Beyond split screen, Android also offers Pop-Up View (sometimes called “Freeform” or “Floating Window” depending on your tablet’s manufacturer). This feature lets you open an app in a resizable, floating window that can be moved anywhere on the screen, even on top of other apps.
Pop-up view is great for quick reference tasks that don’t require a full half of the screen, such as having a calculator open while working in a spreadsheet, keeping a chat window visible while writing an email, or watching a quick tutorial video without leaving your main application.
To open an app in pop-up view, access the recent apps list, tap the app’s icon, and select “Pop-up view” or “Open in pop-up view.” The app will appear in a small, floating window. You can drag the edges or corners to resize it and drag the title bar to move it around the screen. Some implementations even allow you to minimize pop-up windows into small floating icons for later access. This provides a layer of flexibility beyond the fixed split-screen layout.
App Pairs: Launching Your Workflow Instantly
Some Android tablets, particularly those from Samsung with their One UI software, offer a feature called App Pairs. This builds on the split-screen concept by allowing you to save a combination of two apps that you frequently use together in split screen.
Once you have two apps open in split screen, you can often find an option (sometimes on the divider bar or in the recent apps view) to “Save app pair.” This creates a single icon, usually placed on your home screen, in the app drawer, or on an Edge panel. Tapping this icon will instantly launch both apps side-by-side in the saved split-screen configuration.
App Pairs are fantastic time-savers for recurring tasks. If you always use your email app and calendar app together, or your note-taking app and a browser, saving them as a pair eliminates the steps of manually setting up split screen each time. This small optimization can significantly speed up your workflow throughout the day.
The Power of Peripherals: Keyboards, Mice, and Stands
While the touchscreen is intuitive, for tasks involving significant typing, precise navigation, or extended work sessions, external peripherals are game-changers. An 11-inch tablet paired with the right accessories can closely replicate a laptop experience, offering much greater efficiency for certain types of work.
Choosing the Right External Keyboard
Typing on a virtual on-screen keyboard is fine for short messages, but writing emails, reports, or code requires a physical keyboard. Bluetooth keyboards are widely compatible with Android tablets. You have several options:
- Portable Folding Keyboards: These are highly portable, often folding down to a compact size that fits easily in a bag. They are great for working on the go in various locations. However, their smaller size can sometimes mean cramped keys or a less comfortable typing experience for long periods.
- Tablet Keyboard Cases: Many tablet manufacturers and third-party companies offer cases with integrated keyboards. These provide protection for your tablet and a keyboard in one package. They often connect via Bluetooth or sometimes through a physical connector on the tablet itself, which can offer lower latency and doesn’t require separate charging for the keyboard (if it uses the tablet’s power). The typing experience varies greatly depending on the case’s design and key quality.
- Full-Sized Bluetooth Keyboards: For the most comfortable and ergonomic typing experience, a standard full-sized Bluetooth keyboard is the best option. While less portable than folding keyboards or cases, they offer standard key spacing and often better key travel and feel. If you primarily work from a fixed location like a desk or coffee shop, this is an excellent choice.
When choosing a keyboard, consider factors like key layout (ensure it’s a layout you’re comfortable with, like QWERTY), key travel and tactile feedback, battery life (for Bluetooth models), and any extra features like backlighting or media control keys. Pairing a physical keyboard with your tablet dramatically increases typing speed and accuracy.
Adding a Mouse for Precision
While the touchscreen is great for direct interaction, a mouse provides greater precision for tasks like selecting text, working with spreadsheets, graphic design, or navigating complex interfaces. Android has excellent support for Bluetooth mice.
Pairing a Bluetooth mouse is typically straightforward through the tablet’s Bluetooth settings. Once connected, you’ll see a cursor appear on the screen, just like on a desktop computer. This allows for more precise clicking, dragging, and highlighting.
Using a mouse alongside a keyboard creates a more traditional computing setup, which can be much more efficient for detailed work. It reduces the need to constantly reach up and touch the screen, which can also improve ergonomics during longer work sessions.
Utilizing Tablet Stands for Ergonomics
When using external peripherals, a good tablet stand is essential. Holding the tablet or propping it up precariously is uncomfortable and unsustainable for productive work. A stand positions the screen at an ergonomic viewing angle, whether you’re sitting at a desk or working from a table.
Stands come in various forms, from simple folding stands to more robust adjustable arms. Many keyboard cases also double as stands. Look for a stand that is stable, allows for adjustable viewing angles, and is portable if you plan to work in different locations. An ergonomic setup reduces strain on your neck and wrists, allowing you to work more comfortably and for longer periods.
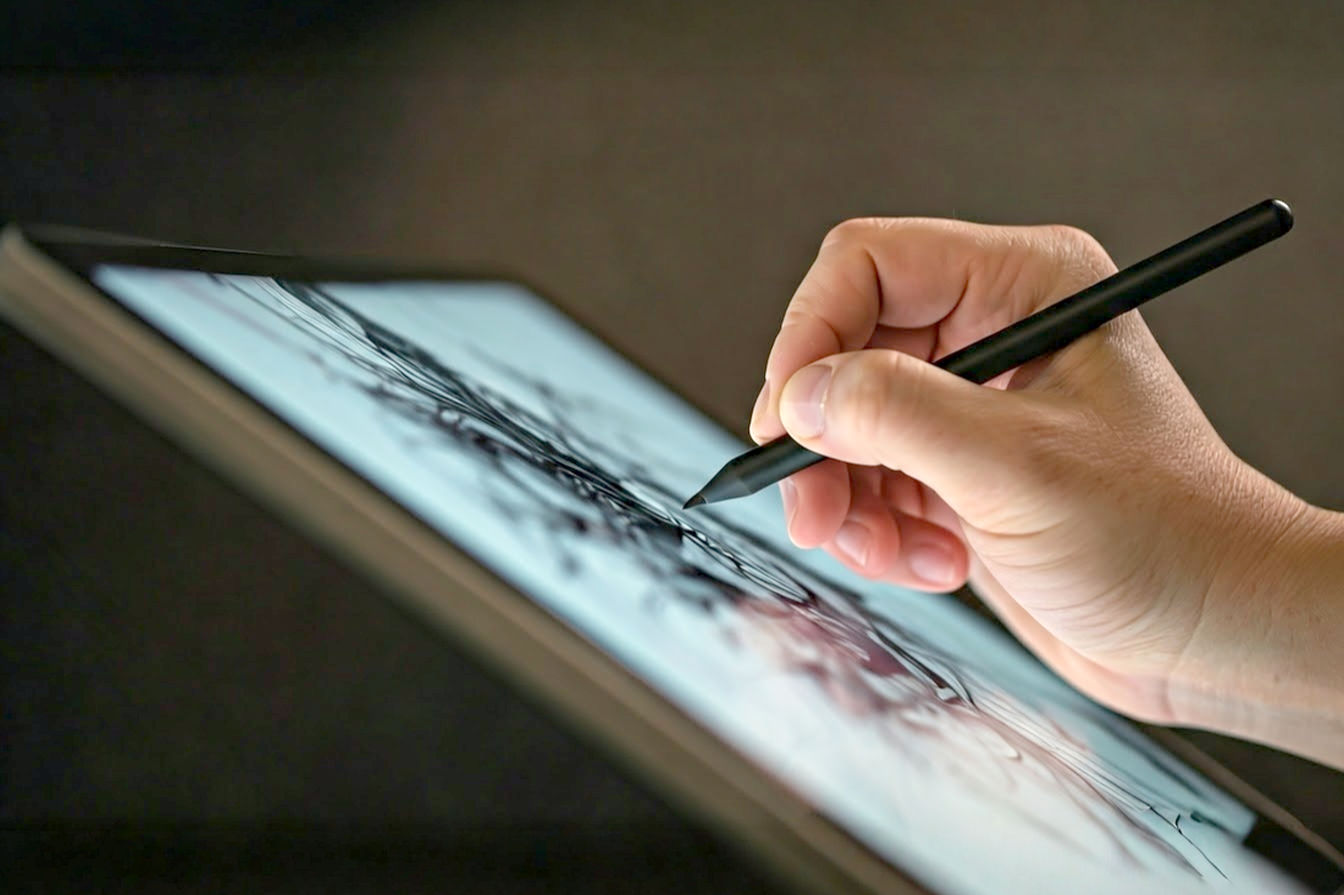
Unlocking Creativity and Note-Taking with a Stylus
Many 11-inch Android tablets support stylus input, either with an included stylus (like Samsung’s S Pen) or through compatibility with third-party active pens. A stylus opens up a new dimension of productivity, particularly for tasks involving handwriting, drawing, or precise annotation.
Handwriting Notes That Convert
For many people, the act of writing by hand aids memory and comprehension. A stylus allows you to take handwritten notes directly on your tablet, offering the flexibility of digital storage and organization. Many note-taking apps for Android have excellent handwriting recognition capabilities.
Apps like Samsung Notes, Nebo, and OneNote can convert your handwritten notes into editable text. This is incredibly powerful; you can jot down ideas quickly during a meeting or lecture and then easily convert them to text for sharing, editing, or searching later. The accuracy of handwriting recognition has improved significantly, making this a viable alternative to typing for many note-takers.
Sketching, Annotating, and Marking Up Documents
A stylus isn’t just for writing. It’s also invaluable for sketching diagrams, drawing illustrations, or visually brainstorming ideas. For creative professionals, it can be a portable digital sketchbook.
Furthermore, a stylus is perfect for annotating PDFs and other documents. You can highlight key passages, draw attention to specific points, add comments in the margins, or sign documents directly on the screen. This eliminates the need to print, mark up with a physical pen, and then rescan documents, streamlining workflows that involve reviewing and providing feedback on files. Whether you’re a student marking up research papers or a professional reviewing contracts, stylus annotation is a major time-saver.
Choosing the Best Stylus and Apps
The best stylus for you depends on your tablet. If your tablet comes with a dedicated stylus (like the S Pen), it’s usually the most integrated and feature-rich option, often offering pressure sensitivity and extra functions like air gestures. If your tablet supports universal active pens (often based on technologies like Wacom AES or USI), you’ll have a wider range of third-party options to choose from with varying price points and features.
Once you have a stylus, selecting the right apps is key. Look for apps specifically designed for stylus input that offer features like pressure sensitivity, palm rejection (so you can rest your hand on the screen while writing), different pen types and colors, and organizational tools. Popular choices include Samsung Notes (for Samsung tablets), Nebo (excellent handwriting recognition), Squid, and Microsoft OneNote (for cross-device syncing).
Essential Apps for Getting Things Done
The Android ecosystem boasts millions of apps, but only a subset are truly essential for transforming your tablet into a productivity machine. Choosing the right apps for your specific needs is critical. Here’s a breakdown of key app categories and examples of popular and effective options.
Note-Taking and Organization Apps
Effective note-taking is fundamental to capturing ideas, remembering information, and planning tasks. Android offers a variety of powerful note-taking apps:
- Samsung Notes: Pre-installed on Samsung tablets, it’s a robust app with excellent stylus integration, PDF annotation, and organization features. It’s particularly strong if you’re already in the Samsung ecosystem.
- Google Keep: A simple, free, and cross-platform note app. Great for quick notes, checklists, and reminders that sync across devices. It’s less feature-rich for complex notes but excels at capturing information on the fly.
- Microsoft OneNote: A highly capable digital notebook that organizes notes into sections and pages, similar to a physical binder. It syncs across all major platforms and supports text, images, audio, and stylus input. Ideal for users who need a structured note-taking system and cross-device access.
- Nebo: Known for its superior handwriting-to-text conversion and ability to work seamlessly with stylus input. If handwriting is a primary method for you, Nebo is worth considering.
Choose a note-taking app that fits your style, whether you prefer simple checklists, freeform handwritten notes, or highly organized digital notebooks.
Task Management and To-Do Lists
Keeping track of tasks is vital for staying on schedule and ensuring nothing falls through the cracks. Task management apps help you organize your responsibilities and prioritize your day.
- Todoist: A popular and powerful task manager that allows you to create projects, set due dates, prioritize tasks, and collaborate with others. Available on all platforms, ensuring your to-do list is always accessible.
- Microsoft To Do: A simple and clean task management app that integrates well with Microsoft accounts and Outlook. Good for basic personal and work task lists.
- Google Tasks: Integrated with Gmail and Google Calendar, making it easy to turn emails into tasks or add tasks directly from your calendar view. A straightforward option for Google ecosystem users.
- TickTick: Offers a good balance of features, including to-do lists, habit tracking, a Pomodoro timer, and calendar integration.
Find a task management app that helps you break down large projects, remember deadlines, and feel a sense of accomplishment as you check things off.
Cloud Storage and File Syncing
Accessing your files from anywhere and keeping them synced across devices is non-negotiable for productivity. Cloud storage services are essential for this.
- Google Drive: Deeply integrated with Android and offers generous free storage. Excellent for storing documents, photos, and videos and collaborating on Google Docs, Sheets, and Slides.
- Dropbox: A reliable cloud storage service known for its ease of use and robust file syncing. Popular for sharing files and folders with others.
- Microsoft OneDrive: Integrates well with Microsoft 365 apps (Word, Excel, PowerPoint) and is a good choice if you heavily use Microsoft’s productivity suite.
Using a cloud storage app ensures your important files are backed up, accessible from your tablet (and other devices), and easy to share.
Communication and Collaboration Tools
Staying in touch with colleagues, classmates, or team members is crucial. Communication and collaboration apps facilitate this.
- Slack: A popular messaging platform for teams, allowing for organized conversations in channels, direct messages, and file sharing.
- Microsoft Teams: Combines chat, video meetings, file storage, and application integration, particularly popular in corporate and educational settings.
- Zoom / Google Meet: Essential for video conferencing and online meetings, allowing you to connect with others remotely.
- Gmail / Microsoft Outlook: Robust email clients for managing your correspondence efficiently.
Having the right communication tools readily available on your tablet ensures you can stay connected and collaborate effectively, whether you’re in the office or on the go.
Document Editing and Creation Suites
For creating and editing documents, spreadsheets, and presentations, a capable office suite is necessary.
- Google Workspace (Docs, Sheets, Slides): Free, web-based, and excellent for collaboration. The Android apps are fully featured and work well on a tablet.
- Microsoft 365 (Word, Excel, PowerPoint): The industry standard for many. Requires a subscription for full functionality, but the Android apps are powerful and offer a familiar interface.
- WPS Office: A free alternative that supports Microsoft Office formats and includes PDF editing capabilities.
Choose a suite that is compatible with the file formats you typically use and offers the features you need for creating and editing content.
Specialized Productivity Tools
Beyond the core categories, several specialized apps can further enhance your productivity:
- CamScanner / Adobe Scan: Turn your tablet’s camera into a portable scanner to digitize documents on the fly.
- Forest / StayFocusd: Apps designed to help you minimize distractions and stay focused by blocking distracting websites or apps.
- Password Manager (e.g., LastPass, Bitwarden): Securely store and manage your passwords, saving time and improving online security.
- File Manager Apps (e.g., Solid Explorer, Files by Google): Provide more advanced tools for navigating, organizing, and managing files on your device.
Explore specialized apps based on your specific needs and the types of tasks you perform regularly.
Efficient File Management: Keeping Your Digital House in Order
Just like a cluttered physical workspace hinders productivity, a disorganized digital file system can make it difficult to find what you need, when you need it. Understanding how to manage files effectively on your Android tablet is essential for a smooth workflow.
Understanding Android’s File System
Android’s file system is structured in a hierarchical way, similar to a computer. There’s internal storage, and potentially external storage like a microSD card. Apps typically store their data in specific directories, and there are common folders for Downloads, Documents, Images, Videos, and Audio.
While you don’t need to be an expert on every system folder, understanding the basic structure helps you know where files are saved by default and where you should store your own documents for easy access. The “Downloads” folder is often a catch-all, so regularly moving important files from there to more organized locations is a good practice.
Using File Manager Apps
Android includes a basic file manager (often called “Files” or “My Files”), but third-party file manager apps offer more advanced features and a better user interface for organizing and manipulating files.
Apps like Solid Explorer, FX File Explorer, and Files by Google provide a dual-pane view (making it easy to drag and drop files between locations), support for connecting to cloud storage services directly within the app, network storage access, and tools for analyzing storage usage. Using a capable file manager makes tasks like copying, moving, renaming, deleting, and zipping/unzipping files much more efficient.
Integrating Cloud Storage for Seamless Access
As mentioned earlier, cloud storage is key for accessibility and backup. File manager apps often integrate directly with services like Google Drive, Dropbox, and OneDrive. This means you can access your cloud files directly through the file manager app, treating them almost as if they were stored locally on your tablet.
This integration allows for seamless workflows, such as downloading a document from Google Drive, editing it on your tablet, and then saving it back to the cloud without needing to open separate apps. It ensures your files are always available and synced across all your devices.
Organizing Files and Folders
Develop a consistent system for organizing your files and folders. This might involve creating a main “Documents” folder with subfolders for different projects, clients, or categories (e.g., “Work,” “Personal,” “Study,” “Finances”).
Use clear and descriptive names for your files and folders. Avoid generic names like “document1.docx.” Instead, use names that indicate the content and date, such as “ProjectX_Report_2025-05-15.pdf.” A logical naming convention and folder structure will save you significant time searching for files later. Regularly spend a few minutes organizing newly created or downloaded files to prevent clutter from building up.
Maximizing Battery Life for All-Day Productivity
An 11-inch tablet has a larger screen and often more powerful components than a phone, which can lead to significant battery drain. To ensure your tablet lasts through a full workday or study session, it’s important to implement strategies for maximizing battery life.
Understanding Battery Drainers
Certain activities and settings consume more battery power than others. The display is typically the biggest culprit, especially at high brightness levels. Apps running in the background, constant syncing, location services, and intensive tasks like gaming or video editing also drain the battery quickly. Identifying which activities consume the most power on your specific tablet is the first step. Android’s battery settings provide a breakdown of battery usage by app and system function.
Adjusting Display Settings
Since the screen is a major power consumer, optimizing its settings can significantly impact battery life.
- Reduce Brightness: Lowering the screen brightness is one of the most effective ways to save battery. Adjust it to a comfortable level for your environment, avoiding maximum brightness unless absolutely necessary.
- Enable Adaptive Brightness: This setting automatically adjusts screen brightness based on ambient light. While sometimes it might set the brightness higher than you’d prefer, it can also lower it in dark environments, saving power.
- Set a Shorter Screen Timeout: The screen stays on for a set period after you stop interacting with it. Setting a shorter screen timeout (e.g., 30 seconds or 1 minute) ensures the display turns off more quickly when not in use, conserving battery.
- Use Dark Mode: If your tablet has an OLED or AMOLED display, using Dark Mode can save significant battery life because black pixels are turned off entirely. Even on LCD screens, dark mode can slightly reduce power consumption and is often easier on the eyes in low light.
Managing App Background Activity
Many apps continue to consume battery and data even when you’re not actively using them, by performing background tasks like syncing, fetching updates, or sending notifications.
Go into your tablet’s battery settings or app settings to control background activity. You can restrict background data usage for specific apps or put apps to sleep when they haven’t been used for a while. Android’s Adaptive Battery feature (available on newer versions) uses machine learning to optimize battery usage based on your app usage patterns, automatically limiting background activity for apps you use infrequently.
Utilizing Battery Saver Modes
Android includes built-in Battery Saver modes that can extend your tablet’s runtime when the battery is low. These modes typically reduce performance, limit background data, turn off location services, and make other adjustments to conserve power.
You can usually configure Battery Saver to turn on automatically when the battery level drops to a certain percentage (e.g., 15% or 20%). Some tablets also offer more extreme power-saving modes that limit functionality even further, suitable for when you need to make the battery last as long as possible. While these modes might slightly impact performance, the trade-off is often worthwhile to ensure your tablet stays powered when you need it most.
Beyond the Basics: Advanced Productivity Techniques
Once you’ve mastered the fundamental productivity tips, you can explore more advanced techniques to further enhance your workflow and leverage the full capabilities of your 11-inch Android tablet.
Using Your Tablet as a Second Monitor
Extend your desktop workspace by using your Android tablet as a second monitor for your Windows PC or Mac. This is incredibly useful for multitasking, allowing you to display reference materials, communication apps, or toolbars on the tablet screen while keeping your primary work on your computer’s display.
Apps like Duet Display or Spacedesk (for Windows) allow you to connect your tablet to your computer, often wirelessly or via USB, and use it as an extended display. Some tablet manufacturers, like Samsung, have their own built-in “Second Screen” feature that works seamlessly with compatible Windows PCs. This transforms your tablet into a portable second screen, boosting productivity when working from a laptop.
Automating Tasks with Android Tools
Automate repetitive tasks to save time and reduce errors. Android offers tools and apps that allow you to create automated workflows.
- Tasker: A powerful automation app that lets you create custom rules and triggers based on various conditions (e.g., location, time, Wi-Fi network) to perform actions (e.g., launch apps, change settings, send messages). It has a steeper learning curve but offers extensive automation possibilities.
- IFTTT (If This Then That): Connects different apps and services to create automated “applets.” For example, you could automatically save email attachments to Google Drive or get a notification when a specific type of event is added to your calendar.
- Android’s Built-in Automation (Rules/Routines): Some Android versions and tablet manufacturers include simpler built-in automation features that allow you to set up basic rules, such as turning on Do Not Disturb mode when you open certain apps or adjusting settings when you connect to a specific Wi-Fi network.
Automating small, repetitive tasks can free up valuable time and mental energy for more important work.
Implementing Digital Wellbeing Practices
While maximizing productivity is the goal, it’s also important to maintain a healthy relationship with your device. Android’s Digital Wellbeing features can help you monitor and manage your tablet usage to prevent burnout and distractions.
Digital Wellbeing provides insights into how much time you spend on your tablet and in specific apps. You can set app timers to limit your usage of time-consuming apps, schedule downtime where only essential apps are available, and use Focus mode to pause distracting apps during periods when you need to concentrate. Integrating these practices ensures that your pursuit of productivity doesn’t come at the expense of your overall well-being.
Conclusion
Your 11-inch Android tablet is a versatile and capable device with the potential to significantly enhance your productivity. By implementing the strategies outlined in this guide – from optimizing your basic setup and mastering multitasking features to leveraging external peripherals, utilizing a stylus, choosing the right apps, managing your files effectively, and optimizing battery life – you can transform your tablet from a consumption device into a powerful creation and work tool.
Experiment with the different tips and find the combinations that best suit your personal workflow and needs. With a thoughtful approach and the right tools, you’ll be well on your way to getting more done and achieving your goals using your 11-inch Android tablet.