This post may contain affiliate links. If you make a purchase through these links, we may earn a commission at no additional cost to you.
Introduction: Is Your PC Running Hot?
Does your computer feel like a mini heater? Maybe it gets loud when you’re playing games or running demanding programs. You might even notice it slowing down unexpectedly. These are common signs that your PC might be struggling with poor airflow inside its case. Specifically, if you have a mid tower case, you could be facing this issue. Good airflow is super important for keeping your computer’s parts cool and happy. When air can’t move freely, heat gets trapped. This trapped heat can cause all sorts of problems you want to avoid.
The Silent Killer: Why Poor Airflow Matters
Poor airflow isn’t just about your PC feeling warm to the touch. It’s a silent killer for your computer’s health and performance. When components like your CPU (Central Processing Unit) and GPU (Graphics Processing Unit) get too hot, they have built-in safety features. These features make them slow down, or “throttle,” to prevent damage. This means your games might stutter, or your video editing takes forever. Over time, consistently high temperatures can actually shorten the lifespan of your expensive components. Think of it like running a car engine constantly redlining; it’s not built for that kind of stress long-term. Keeping things cool helps your PC run faster, quieter, and last longer. It protects your investment.
The Promise: A Quick, Effective Solution
The good news is that you don’t need to be a computer expert to fix many airflow problems. In fact, a surprisingly effective fix can often be done in about 15 minutes. This isn’t a magic bullet for every single cooling issue, but it addresses the most common culprits. We’re talking about simple, practical steps that make a big difference. This guide will walk you through exactly how to do it. You’ll learn to identify the basic issues and apply a quick fix that works for many mid tower PC owners. Get ready to help your PC breathe easier.
Understanding PC Case Airflow
Before we dive into fixing things, let’s quickly cover how air is supposed to move inside your PC case. It’s not just random. There’s a science to it, even if it seems complicated at first glance. Understanding the basics helps you make smart choices about fan placement and other factors. Airflow is essentially about getting cool air into the case and pushing hot air out. This constant movement prevents heat from building up around sensitive components.
How Air Moves Inside a Case
Air moves inside your case primarily through two methods: convection and pressure. Convection is the natural tendency for hot air to rise and cool air to sink. This is why exhaust fans are often placed at the top and rear of a case – they help pull that rising hot air out. Pressure is created by your case fans. Some fans push air into the case (intake), and some pull air out (exhaust). The balance between the volume of air being pushed in and pulled out creates either positive, negative, or neutral pressure inside the case. We’ll explain what those mean later. The goal is to create a clear path for air to follow, moving from cooler areas to hotter components, picking up heat, and then exiting the case. Obstructions in this path reduce efficiency.
Key Components Affecting Airflow
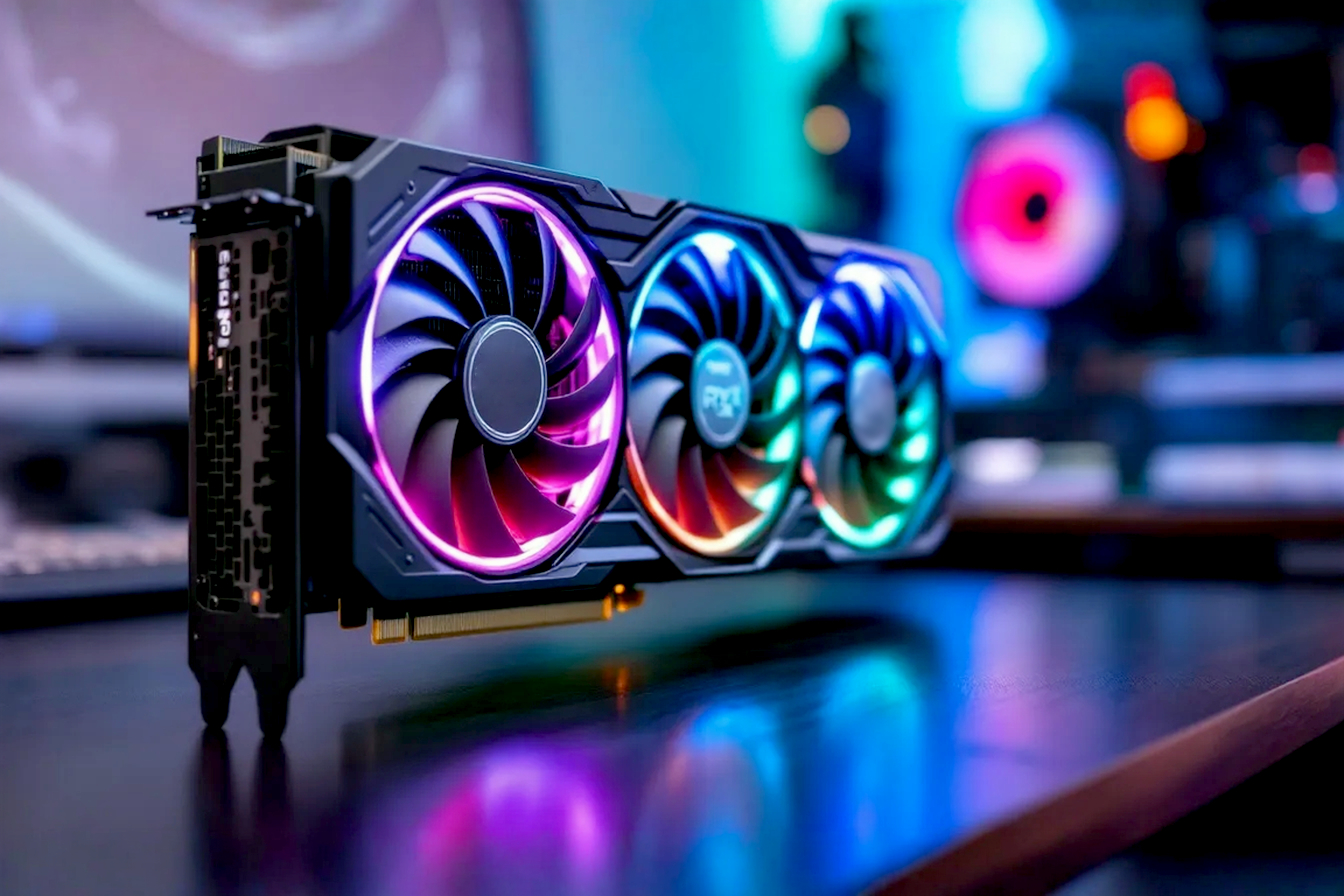
Several things inside your PC case play a role in how well air flows. The most obvious are the case fans. These are the primary movers of air. Their size, speed (measured in RPM, or revolutions per minute), and how they are oriented (intake or exhaust) are critical. The vents and mesh panels on your case are also important. They are the entry and exit points for air. If these are blocked by dust, airflow is severely restricted. The size and layout of your components themselves matter. Large graphics cards or bulky CPU coolers can create turbulence or block pathways. Finally, your cables are a major factor. A messy tangle of cables can act like a dam, stopping air from reaching where it needs to go.
Mid Tower Cases: Unique Airflow Considerations
Mid tower cases are the most common size for building a desktop PC. They offer a good balance between size and expandability. However, their size also presents specific airflow challenges. They are larger than small form factor cases, which can sometimes lead to dead spots where air doesn’t circulate well. They also have less internal space than full tower cases, making cable management slightly trickier. Mid towers typically have fan mounts in the front (for intake), rear (for exhaust), and top (for exhaust or intake). Some also have mounts on the bottom or side. The standard layout usually involves front intake and rear exhaust, using the natural convection of rising hot air to help top fans. Understanding these typical layouts helps you optimize your fan setup.
Diagnosing Your Airflow Problem
How do you know if you actually have an airflow problem? Your PC might be giving you clues. It’s not always obvious, but recognizing the symptoms is the first step to fixing it. Don’t just guess; look for the signs and, ideally, use tools to confirm your suspicions.
Common Symptoms of Poor Airflow
The most common and noticeable symptom is high component temperatures. Your CPU and GPU are the usual suspects here. If these parts are consistently running hot, especially under load, it’s a strong indicator of poor cooling. Another symptom is excessive fan noise. When components get hot, the fans trying to cool them have to spin faster and louder. If your PC sounds like a jet engine taking off when you open a few programs, airflow is likely an issue. As mentioned before, performance throttling is a direct consequence of high temperatures. Your PC deliberately slows down to protect itself. If your frame rates drop suddenly in games or tasks take longer than they should, check your temps.
Visual Inspection: What to Look For
Sometimes, you can spot airflow problems just by looking inside your case. Dust buildup is a huge red flag. Thick layers of dust on fans, vents, and components act as insulation, trapping heat. They also block the movement of air. Cable mess is another obvious issue. If cables are draped across components or blocking fan intakes/exhausts, they are hindering airflow. Take a peek at your fan orientation. Are your front fans blowing air in and your rear/top fans blowing air out? Incorrect fan direction can work against natural airflow. Look at the vents and filters on the outside of your case. Are they clogged with dust bunnies?
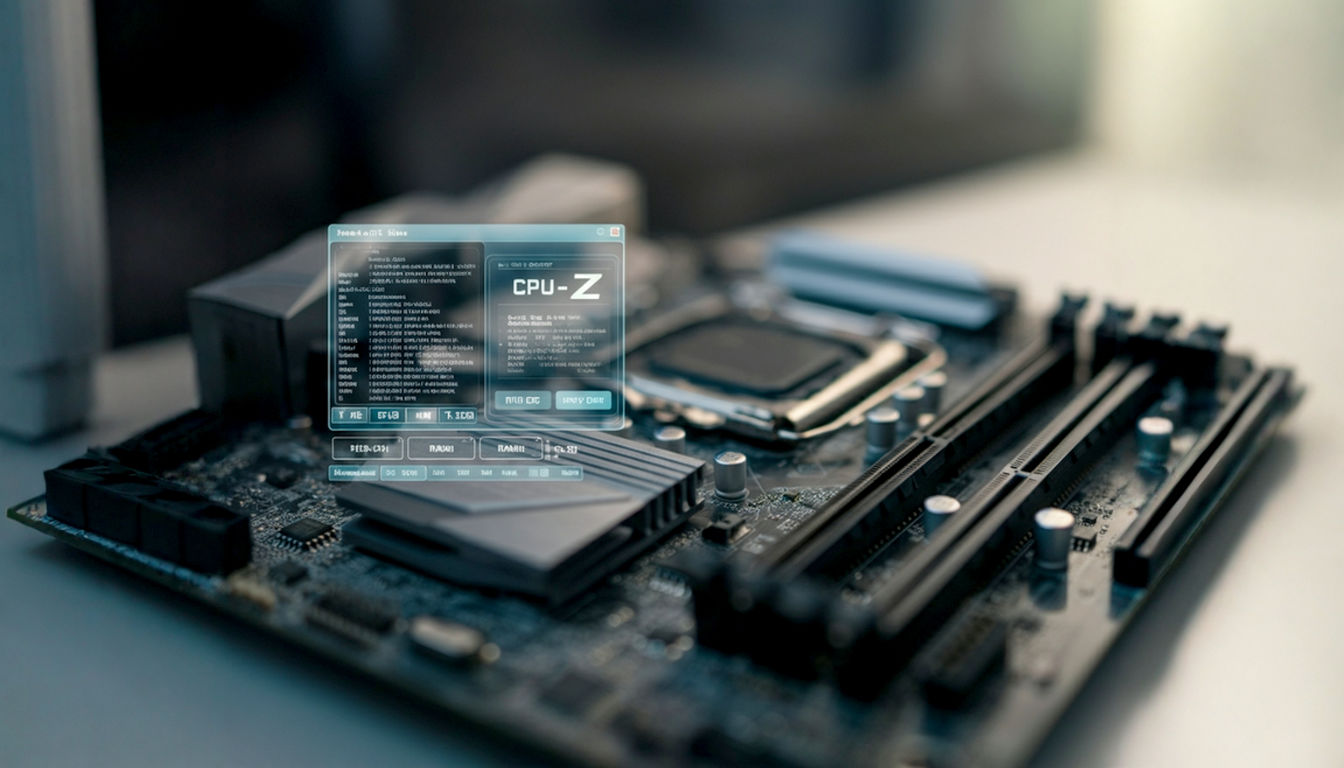
Using Software to Monitor Temperatures
While visual inspection is helpful, using software gives you concrete data. Several free programs can monitor your component temperatures in real-time. HWMonitor and Core Temp are popular choices for monitoring CPU temperatures. MSI Afterburner (which works with most graphics cards, not just MSI) is excellent for monitoring GPU temperatures and usage. Run one of these programs while your PC is idle and then again while you’re doing something demanding (like gaming or running a benchmark). Compare the temperatures to typical operating ranges for your components. If they are consistently hitting high thresholds (e.g., CPU above 70-80°C under load, GPU above 75-85°C under load, depending on the specific model), you likely have a cooling issue.
The 15-Minute Airflow Fix: Step-by-Step Guide
Okay, you’ve diagnosed the problem. Now, let’s get to the quick fix. Remember, the goal here is to make a significant improvement in about 15 minutes by addressing the most common and easily rectifiable issues. This isn’t a full system overhaul, but it often provides noticeable results.
Step 1: Power Down and Prepare
Safety first! Before you open your PC case, make sure it’s completely powered off. Not just asleep, but fully shut down. Unplug the power cable from the wall and from the back of the PC. It’s also a good idea to press the power button a couple of times after unplugging to discharge any residual power stored in the system’s capacitors. Move your PC to a clean, open workspace, preferably on a non-carpeted surface to minimize static electricity risk. Open the side panel of your case. Most mid tower cases have thumbscrews or a simple latch system for the main side panel (usually the left side when looking from the front).
Step 2: The Quick Dust Buster
Dust is the number one enemy of PC airflow. Even a thin layer can act as an insulator and block vents. This step focuses on quickly removing the most accessible and impactful dust.
Tools Needed for Quick Dust Removal
You don’t need a full cleaning kit for this quick fix. The most effective tool is a can of compressed air. Make sure it’s designed for electronics. You’ll also want a microfiber cloth for wiping surfaces. Avoid using a regular vacuum cleaner hose inside your PC, as it can generate static electricity that could damage components.
Focusing on Key Areas
In this 15-minute fix, you’re not cleaning every nook and cranny. Focus your efforts on the areas where dust has the biggest impact on airflow.
- Intake Vents: These are usually at the front or bottom of your case. Blast compressed air through the vents from the outside to push dust out. If you have removable dust filters here, take them out and clean them separately (more on this later).
- Exhaust Vents: Typically at the rear and top. Blow air from the inside out to clear these pathways.
- Accessible Fans: Give the blades of easily reachable case fans (like the rear exhaust fan or front intake fans if you can access them without removing drive cages) a quick blast of air. Hold the fan still with your finger or a non-conductive object while doing this to prevent it from spinning too fast, which can damage its bearings or generate a small amount of power back into the motherboard.
- Large Components: Briefly spray areas around your graphics card and CPU cooler heatsink where dust is visibly thickest.
Be sure to do this in a well-ventilated area, as a surprising amount of dust will come out!
Step 3: Check and Adjust Fan Direction
Incorrect fan direction is another incredibly common airflow killer. Your fans might be working against each other or pushing hot air back into the case. Correcting this is often a quick fix.
Understanding Intake vs. Exhaust Fans
Think of your case like a box you want to push air through. Intake fans push fresh, cooler air into the case. They are usually located at the front or bottom. Exhaust fans pull hot air out of the case. They are typically located at the rear or top, taking advantage of hot air rising. The goal is to create a flow that moves cool air over the heat-generating components and then expels the now-hot air.
Common Fan Mount Locations in Mid Towers
Mid tower cases usually have mounting points for fans in standard locations.
- Front: Almost always used for intake fans, pulling cool air from outside the case.
- Rear: Almost always used for exhaust, pulling hot air out the back.
- Top: Can be used for exhaust (most common, helps with rising hot air) or sometimes intake (less common, can disrupt natural flow).
- Bottom: Often used for intake, especially if there’s a vent and space.
- Side: Less common now, but can be intake or exhaust depending on the case design.
The Balanced Pressure Principle
The goal is often to achieve neutral or slightly positive pressure.
- Neutral Pressure: The volume of air coming in roughly equals the volume going out.
- Positive Pressure: More air is coming in than going out. This slightly pressurizes the case, forcing air out through any small gaps and vents. A key benefit is that it helps prevent dust from being sucked in through unfiltered openings.
- Negative Pressure: More air is going out than coming in. This draws air in through any available opening, including unfiltered ones, which can lead to more dust buildup inside the case.
For most users, aiming for neutral or slightly positive pressure is recommended for balancing cooling and dust management. This typically means having an equal number of intake and exhaust fans, or slightly more intake fans (or intake fans with higher airflow ratings – CFM).
How to Quickly Check Fan Direction
Most case fans have small arrows molded into the side of the fan housing. One arrow indicates the direction of airflow, and the other indicates the direction of blade rotation. You want to find the airflow direction arrow. If the fan is mounted at the front, this arrow should point inward towards the components. If it’s at the rear or top, the arrow should point outward away from the components.
Simple Fan Reorientation
If you find a fan blowing the wrong way and it’s easily accessible (not blocked by other components or complex mounting), you can quickly flip it around. This usually involves unscrewing the fan (typically four screws), flipping it over, and screwing it back in. Make sure the cables still reach the fan header on your motherboard. This simple change can dramatically improve airflow. Don’t worry about flipping fans that are hard to reach for this 15-minute fix; focus on the easy ones like the rear exhaust or accessible front fans.
Step 4: Taming the Easy Cables
Messy cables are like speed bumps for air. They create turbulence and block the path of cool air trying to reach your components. You don’t need to do perfect cable management for this quick fix, but you can make some easy improvements.
Why Cables Kill Airflow
Cables are physical objects taking up space. When they are bundled together or draped across the path of air, they create resistance. This forces the air to go around them, reducing the volume of air flowing over heat-sensitive areas like your motherboard, RAM, and graphics card. A tangled mess is much worse than neatly routed cables.
Focusing on Main Obstacles
For the 15-minute fix, focus on the most obvious cable obstructions.
- GPU Power Cables: These often run from the power supply directly to the graphics card. If they are hanging down in front of the GPU fans or blocking the path from front intake fans, try to gently push them out of the way or loosely bundle them.
- Motherboard Cables: The large 24-pin power cable and CPU power cable can sometimes obstruct airflow near the CPU or motherboard. See if you can tuck them slightly out of the main airflow path.
- Drive Cables: SATA data and power cables for SSDs or HDDs can also cause minor obstructions.
Using Zip Ties or Velcro Straps
You don’t need fancy cable management tools for this quick step. Simple zip ties or reusable Velcro straps work perfectly. Gather loose cables that are blocking airflow and gently cinch them together or tie them to the case frame or existing cable routing points if available. Don’t overtighten zip ties, as this can potentially damage cables. The goal is just to get them out of the way of the main airflow paths. Velcro straps are great because you can easily adjust them later.
Step 5: Verify the Fix
You’ve dusted the key areas, checked fan direction, and tidied up the most obstructive cables. Now it’s time to see if it worked!
Running a Quick Stress Test
To truly see the impact, you need to put some load on your system. You can run a demanding game you usually play or use a benchmark tool. Programs like Prime95 (for CPU) or FurMark (for GPU) can quickly generate significant heat. Let the test run for 5-10 minutes.
Comparing Before and After Temperatures
While the stress test is running, use your monitoring software (HWMonitor, Core Temp, MSI Afterburner) to watch your CPU and GPU temperatures. Compare these numbers to the temperatures you saw before you did the 15-minute fix, ideally under a similar load. You should see a noticeable drop in peak temperatures. Even a few degrees Celsius can indicate improved airflow and better cooling efficiency. If temperatures are lower and your fans aren’t spinning as fast (and therefore aren’t as loud), your quick fix was successful!
Beyond the 15 Minutes: Taking Airflow to the Next Level
The 15-minute fix is great for a quick improvement, but if you want truly optimal cooling, or if the quick fix didn’t solve your problems entirely, you can do more. These steps take a bit longer but offer significant benefits.
Comprehensive Dusting
The quick dust bust targeted key areas. A comprehensive dusting involves taking components out (like the graphics card) to get at hidden dust bunnies on heatsinks, fans, and in tight corners. Use compressed air, anti-static brushes, and microfiber cloths to meticulously clean every surface. This is more time-consuming but ensures dust isn’t hindering airflow anywhere.
Advanced Cable Management
Proper cable management involves routing cables behind the motherboard tray (if your case supports it), using grommets, and strategically bundling cables so they don’t obstruct airflow at all. This takes patience and planning but results in a much cleaner look and significantly better airflow. It involves disconnecting most components and carefully rerouting every cable.
Adding or Replacing Case Fans
Many mid tower cases come with only one or two basic fans. Adding more fans, or replacing stock fans with higher-quality ones, can drastically improve airflow.
Choosing the Right Fans
Fans come in different sizes (most commonly 120mm or 140mm for case fans). They also have different purposes.
- Airflow Fans: Designed to move a large volume of air (high CFM – Cubic Feet per Minute) with less resistance. These are good for unrestricted areas like front intakes or top exhausts where there’s open space.
- Static Pressure Fans: Designed to push air effectively through resistance, like through radiators or dense heatsinks. While primarily for coolers, they can be useful as intake fans if your case has restrictive front panels or filters.Look at the fan’s specifications for CFM and static pressure ratings. Higher CFM means more air moved. Static pressure is measured in mmAq (millimeters of water). Higher mmAq means it can push air through more resistance. Balance fan speed (RPM) with noise level (dB – decibels). Faster fans move more air but are louder.
Optimal Fan Placement Strategies
For a mid tower, a common and effective setup is:
- Front: 2-3 intake fans (pulling cool air in).
- Rear: 1 exhaust fan (pulling hot air out).
- Top: 1-2 exhaust fans (helping rising hot air escape).This setup creates a clear front-to-back and bottom-to-top airflow path, moving cool air over your components and expelling hot air. Experimenting with fan placement and direction can yield the best results for your specific case and components.
Considering Aftermarket Coolers
The stock coolers that come with CPUs and GPUs are often basic. Upgrading to a larger, more efficient aftermarket CPU cooler (like a tower air cooler or an AIO liquid cooler) or a GPU with a more robust cooling solution can significantly lower component temperatures, reducing the heat load that your case airflow has to deal with.
Case Modifications
In some cases, the design of the mid tower itself might be limiting airflow. Some older or budget cases have solid front panels with small side vents, which restrict intake. More modern cases often feature mesh front panels for maximum airflow. If your case is a major bottleneck, consider adding mesh panels or upgrading to a case known for good airflow. Adding magnetic dust filters to intake vents can also help keep the inside cleaner, maintaining better airflow over time.
Positive vs. Negative Pressure: Which is Right for You?
We briefly touched on case pressure. Let’s dive a little deeper, as it’s a key concept in optimizing airflow.
Understanding Case Pressure
Case pressure is determined by the balance between the total volume of air your intake fans are pushing into the case and the total volume of air your exhaust fans are pulling out. This volume is typically measured in CFM (Cubic Feet per Minute).
Benefits of Positive Pressure
If your total intake CFM is higher than your total exhaust CFM, you have positive pressure. The inside of your case has slightly higher air pressure than the outside environment. The main benefit is that this pressure forces air out of any unfiltered gaps or seams in your case. This significantly reduces the amount of dust that can be passively drawn into the case through those openings. With positive pressure, dust primarily enters through your filtered intake vents, making it easier to manage by simply cleaning the filters. This keeps the inside of your PC much cleaner over time.
Benefits of Negative Pressure
If your total exhaust CFM is higher than your total intake CFM, you have negative pressure. The inside of your case has slightly lower air pressure than the outside. This setup can sometimes lead to slightly lower component temperatures because hot air is being pulled out very aggressively. However, the major downside is that air (and dust) will be sucked in through any available opening – unfiltered gaps, expansion slots, cable cutouts, etc. This means your case will accumulate dust much faster and in harder-to-reach places, which ultimately degrades airflow over time.
Achieving Balanced Pressure
Ideally, you want to aim for neutral pressure (intake CFM ≈ exhaust CFM) or slightly positive pressure (intake CFM > exhaust CFM). Slightly positive pressure is often preferred for its dust-reducing benefits. To achieve this, consider the CFM ratings of your fans. If you have three 120mm intake fans rated at 50 CFM each and two 120mm exhaust fans rated at 60 CFM each, your total intake is 150 CFM and total exhaust is 120 CFM, resulting in positive pressure. If you add another exhaust fan, you might move towards neutral or negative pressure. You can adjust fan speeds (if your motherboard or fan controller supports it) to fine-tune the balance.
How Case Design Impacts Pressure
The design of your mid tower case plays a big role in how easily you can achieve desired pressure. Cases with mesh front panels and plenty of fan mounts make it easy to set up strong intake and exhaust. Cases with restrictive solid panels or limited fan options might make achieving positive pressure more challenging. Integrated dust filters on intake vents are also crucial for the positive pressure strategy to be effective at keeping dust out.
The Role of Dust Filters
We’ve mentioned dust filters a few times. They are simple but incredibly effective tools in maintaining good airflow, especially when combined with a positive pressure setup.
Where Dust Comes From
Dust is everywhere! It’s composed of tiny particles including skin cells, fabric fibers, pet dander, and environmental pollutants. Your PC’s fans act like small vacuum cleaners, constantly pulling air (and whatever is in it) into the case.
How Filters Work
Dust filters are essentially fine meshes placed over intake vents. They allow air to pass through but trap larger dust particles on the filter material. This prevents the dust from entering the case and settling on your components, fans, and heatsinks.
Filter Placement
Dust filters are most effective when placed on intake fans or vents. This is because intake fans are actively pulling air into the case. Filtering the air before it enters ensures that the majority of dust is caught at the entry point. Exhaust fans don’t need filters, as they are pushing air out. Placing filters on exhaust fans would only hinder the expulsion of hot air and cause dust to build up on the inside of the filter.
Cleaning Dust Filters
Dust filters only work if they are clean. A clogged filter severely restricts airflow, turning your intended intake into a major bottleneck. Make cleaning your dust filters a regular part of your PC maintenance. This is usually a quick job. Most modern mid tower cases have easily removable filters on the front, top, and sometimes bottom. Simply slide them out, brush or vacuum off the dust, and slide them back in. For filters that are very dirty or not easily vacuumed, you can often rinse them with water (make sure they are completely dry before putting them back!).
Common Airflow Mistakes to Avoid
Even with the best intentions, it’s easy to make mistakes that hurt your PC’s airflow. Knowing what these common pitfalls are can help you avoid them.
Incorrect Fan Direction
This is perhaps the most frequent error. Having intake fans blowing against each other, or exhaust fans fighting the natural flow of rising hot air, creates turbulence and reduces overall airflow efficiency. Always double-check those little arrows on your fans!
Ignoring Dust Buildup
Thinking a little dust is okay is a mistake. Dust insulates components and blocks airflow paths. Regular cleaning, especially of intake filters and accessible fan blades, is crucial. Don’t wait until performance drops significantly.
Poor Cable Routing
Letting cables sprawl haphazardly across your case interior is a guaranteed way to impede airflow. Even a quick tidy-up of the main cables can make a difference, as shown in our 15-minute fix. For optimal results, invest time in proper cable management.
Not Enough Fans
While you don’t need a fan in every possible mount, relying on just one or two fans in a mid tower case is usually insufficient for components that generate significant heat (like modern CPUs and GPUs). Adding a couple of well-placed fans can provide the necessary air movement.
Using the Wrong Type of Fan
Using airflow-optimized fans where static pressure is needed (like on a restrictive front panel or radiator) or vice versa can reduce cooling efficiency. While not as critical as direction or dust, using the appropriate fan type helps maximize performance.
Maintaining Optimal Airflow
The 15-minute fix and even the more advanced steps are not one-time solutions. Maintaining good airflow requires ongoing care.
Regular Cleaning Schedule
How often you need to clean depends on your environment. If you have pets, live in an older house, or have carpets, you’ll likely need to clean more often. A good starting point is to check your dust filters every 1-2 months and do a more thorough internal dusting every 3-6 months. Set a reminder!
Monitoring Temperatures Periodically
Even if your PC is running cool now, it’s a good habit to check your component temperatures occasionally, especially during demanding tasks. This helps you spot potential problems early, before they cause throttling or damage. If you see temps creeping up over time, it’s a sign that dust might be accumulating again or a fan might be failing.
Checking Fan Health
Listen to your fans. Are any making unusual noises (grinding, clicking)? Are they all spinning? If a fan fails, it creates a gap in your airflow strategy. Most monitoring software can report fan speeds (RPM). If a fan’s RPM is zero or much lower than others of the same type, it might be failing. Replacing a faulty fan is important for maintaining consistent airflow.
Conclusion: Cool, Quiet, and Fast
Dealing with poor PC airflow might seem daunting, but it doesn’t have to be. As we’ve shown, a few simple steps can make a big difference in just 15 minutes. By tackling the most common issues – dust and fan direction – you can often significantly improve your PC’s cooling performance.
Recap of the 15-Minute Fix
Remember the steps: Safely power down, perform a quick dust removal focusing on vents and accessible fans, check and adjust easily accessible fan directions, and quickly tidy up obstructive cables. Finally, verify your results by monitoring temperatures. This quick process addresses the low-hanging fruit of airflow problems and provides a fast, noticeable improvement for many users. It’s a great starting point.
The Importance of Ongoing Maintenance
While the 15-minute fix is effective for immediate improvement, maintaining optimal airflow is a continuous process. Regular cleaning, periodic temperature monitoring, and checking fan health are key to ensuring your PC stays cool, quiet, and performs its best for years to come. Think of it as essential preventative maintenance.
Enjoy Your Cooler PC!
A PC with good airflow isn’t just healthier; it’s also more pleasant to use. You’ll experience less noise from fans constantly spinning at high speeds, and you won’t have to worry about performance drops due to thermal throttling. By taking these steps, you’re ensuring your components can run at their intended speeds, giving you a smoother, faster computing experience. So go ahead, give your mid tower PC the airflow it deserves, and enjoy the benefits!